110+ Year Old Family Crest Restoration

Coming soon will be the full story of this very old Family Crest Restoration. This picture is just a very small portion of this historic piece of stained glass, which had an amazing beginning, ocean travel, institution display, escaped the wrecking ball, travelled across Canada and eventually ended up in our studio to be restored. It is quite a story – stay tuned.

Artist to be announced at a later date

Loon Panel Restoration 2017

A client from Rimbey Alberta brought us this panel which if memory serves us correctly had been knocked off the window by her cat. When doing restorations like this we first do a rub by laying over the panel a taped down piece of white freezer paper. We then take carbon copy paper and rub the entire panel which traces the solder lines to the paper and that paper then serves as a guide to rebuild and restore the panel.

This panel was originally made by our clients daughter and we wanted to save as much as possible of her work when restoring this stained glass loon panel.

Then we removed the frame and proceeded to remove the necessary pieces of broken and other glass. In this case we worked from the bottom up and did not proceed beyond the dark blue glass below the brown colored glass as all from there to the top of the panel was still intact.

Fortunately we had matching replacement Spectrum Glass to replace the broken pieces.

The next photo shows the rebuilding process. We had to use quite a lot of new glass in the lower half due to the breakage and to restore proper fitting of the pieces.

When one does this without taking the whole panel apart, it is necessary to first solder together all of the new pieces, then placing some thin clear glass under the restored part in order to bring it up to the same level as the original top portion of the panel. This is required to ensure that new pieces connect properly at the same level. At the request of our client we changed the loon eye to red.

We also installed a 1/2 inch new zinc came frame around the panel.

After soldering we clean the flux off with Kwik Clean, take steel wool (#0000 – which does not scratch glass) to the solder seams. Then apply black patina, again cleaning with Kwik Clean and finally applying Clarity (Kem Pro) stained glass polish.

Lady Art Deco Panel Restoration

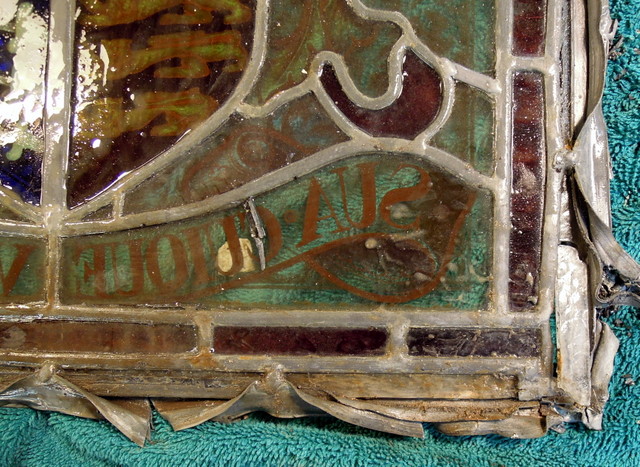
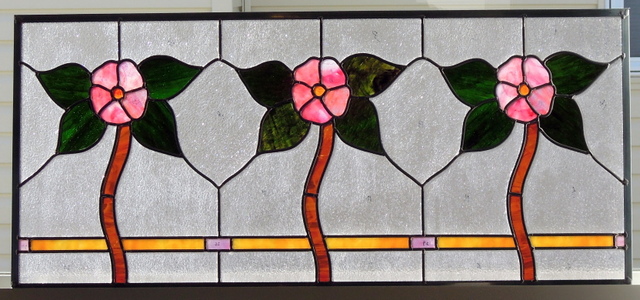
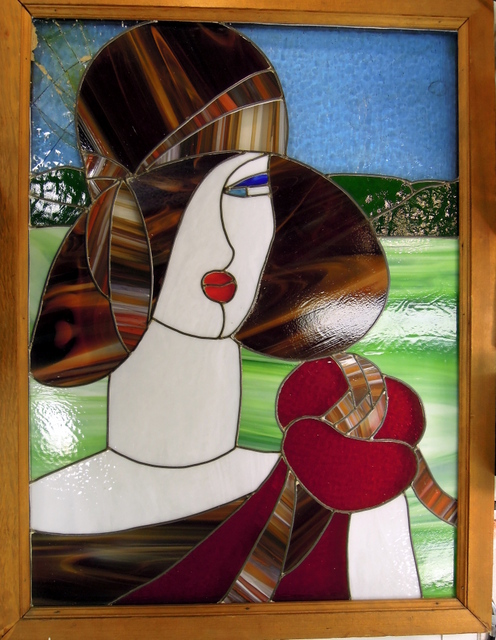
A client from Calgary had this beautiful large lady came panel which had fallen and the sky glass was broken. In addition the soft came edging was coming apart and the whole panel needed to be restored along with new sky glass. The panel measured approximately 25 inches wide x 33 inches high.

stainedglassladypanel2016

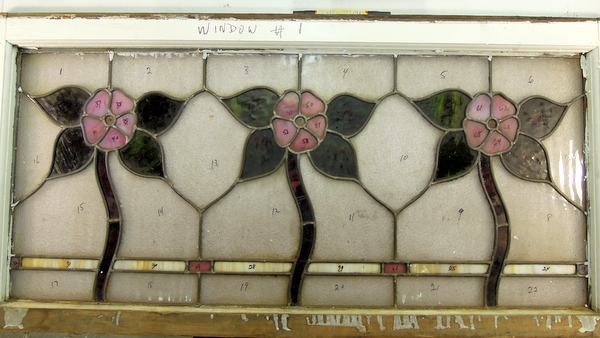
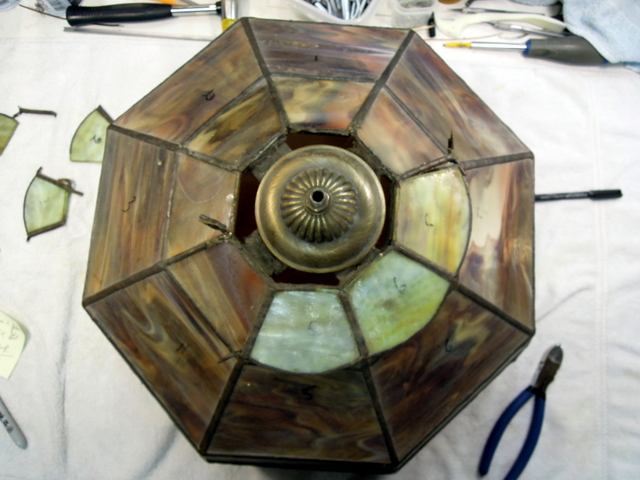
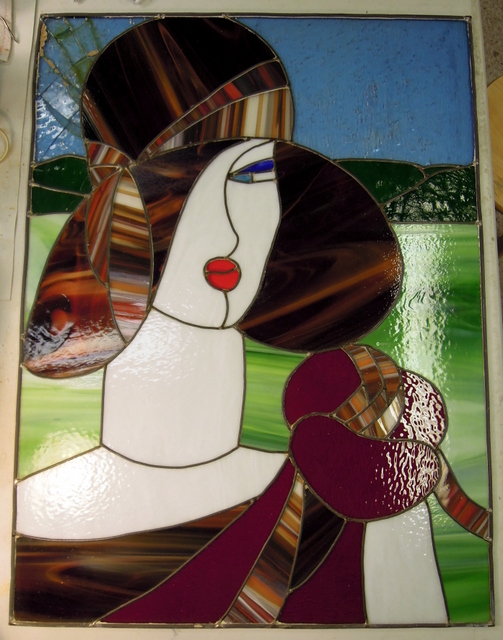
The 2nd photo shows the panel after being taken out of its wooden frame. When the panel fell both sky blue pieces were broken however other than a small crack in one of the darker greens the rest of the glass survived the fall.

stainedglassladypanelrestoration2016

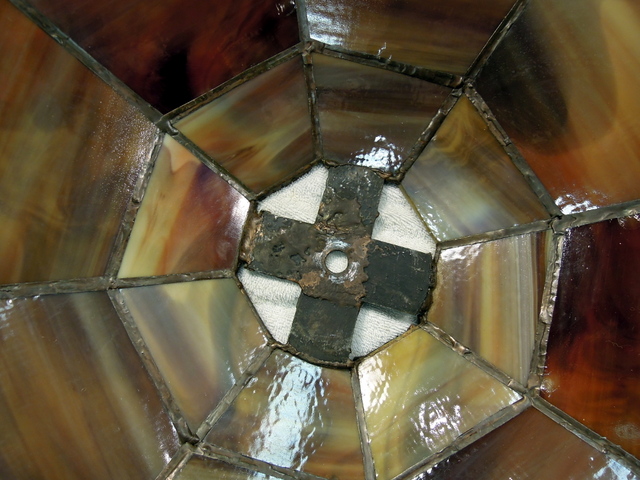
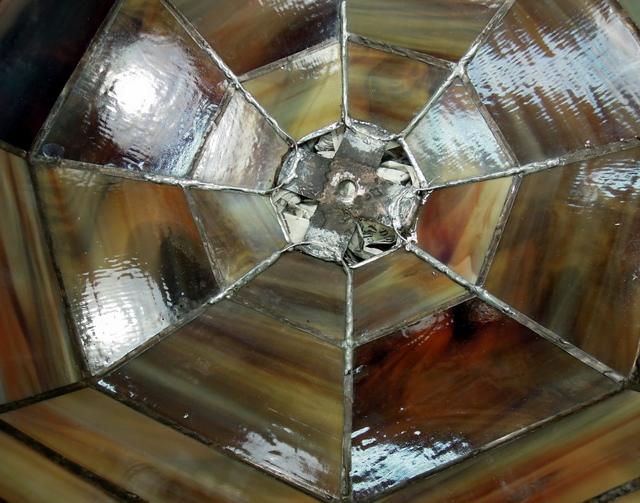
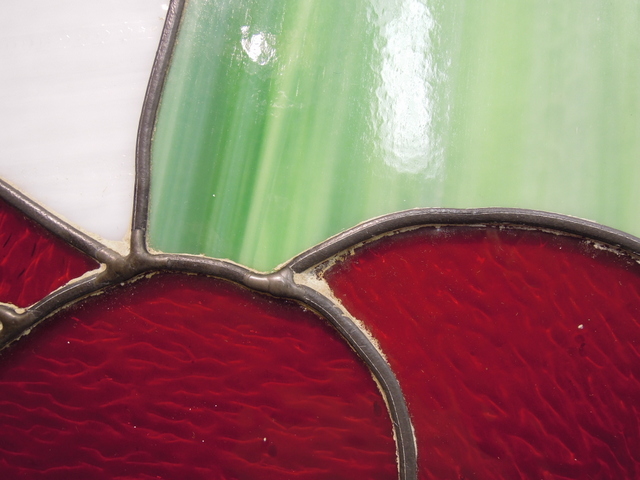
The original artist had used soft lead came for the outer frame and in addition a lot of the came cement had been left on the glass as shown below. When the panel fell it jarred loose many of the old came joints.

closeupofladypanel

closeupladypanel2

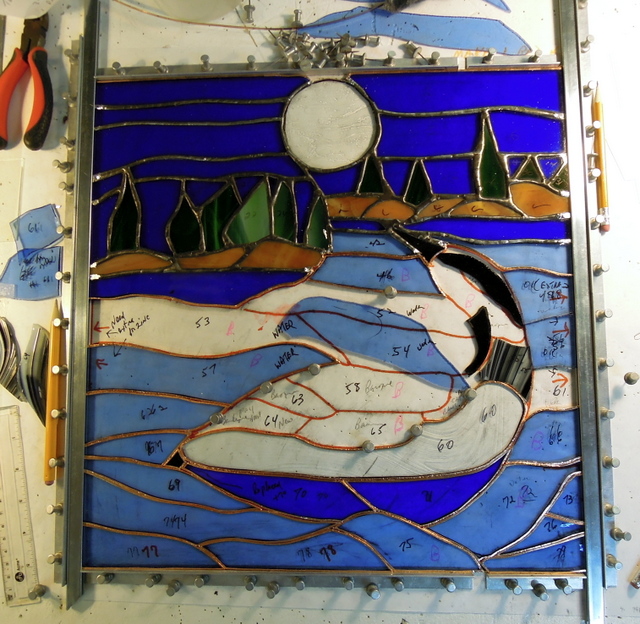
We then numbered each piece of glass, photographed the panel in detail, then took the panel all apart, cleaning each piece as we went along in the restoring, rebuilding process, starting at the bottom of the panel.

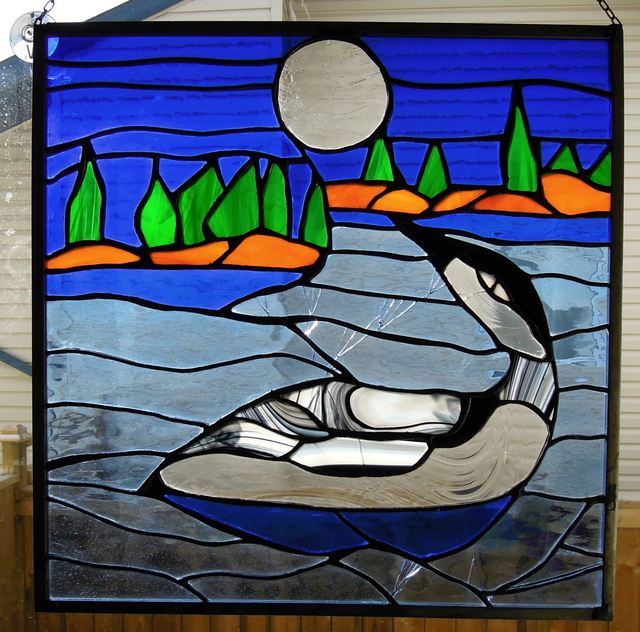
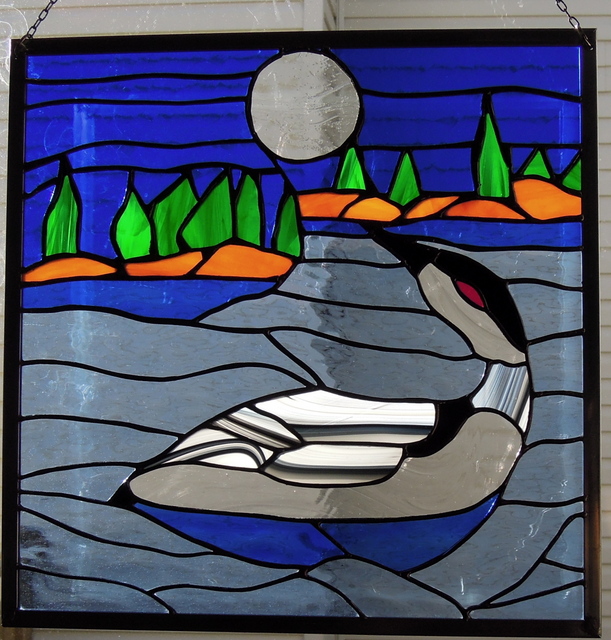
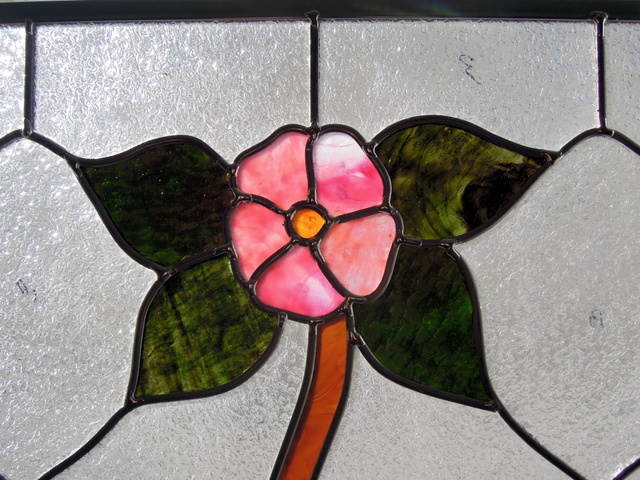
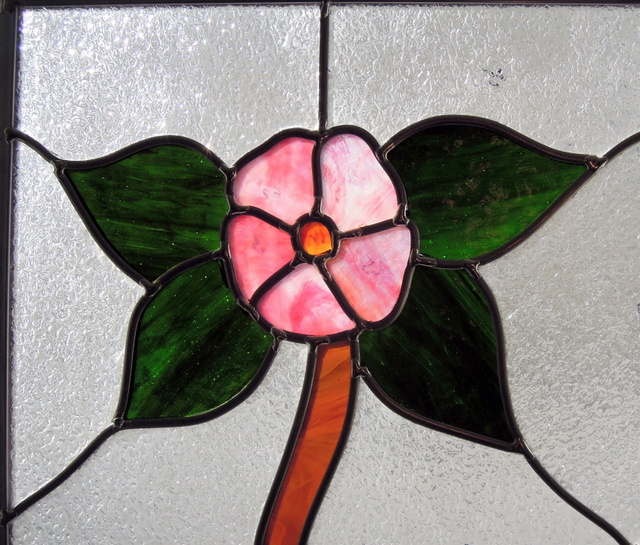
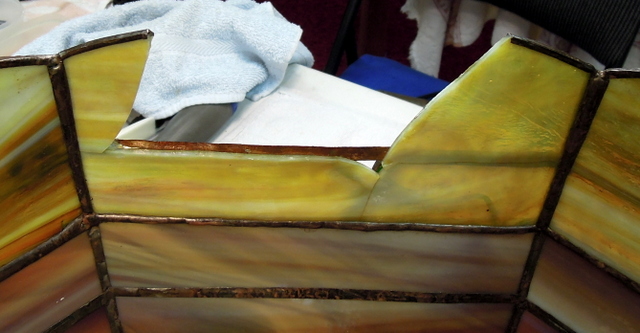
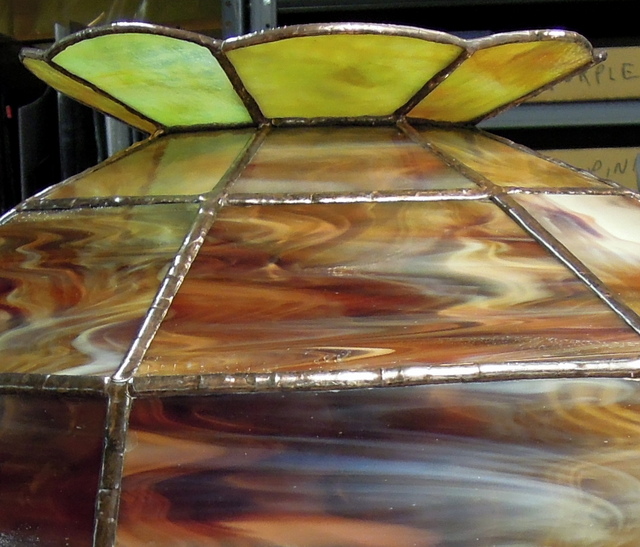
We had a beautiful piece of Bullseye, Clear, Egyptian Blue Opal #002064-0030 which we used for the sky and it enhanced the overall beauty of the panel. With the cracked piece of the dark green horizon glass we just added in another came joint as we did not want to replace that glass.

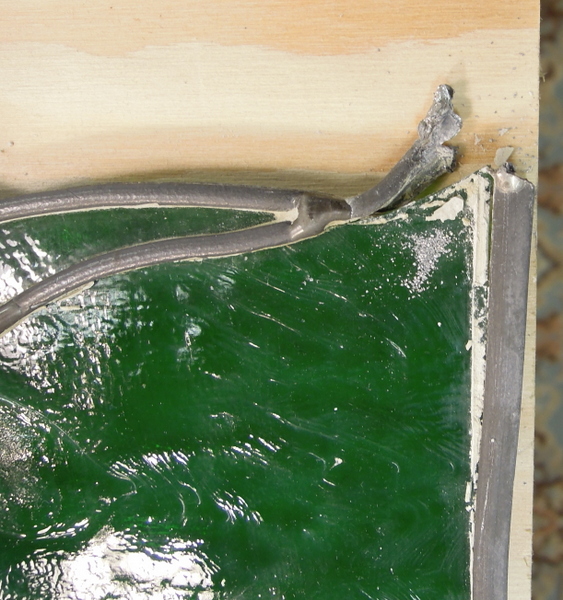
We decided that as this was such a large panel we upgraded the came used to RH – 12 and also put a 3/8 inch zinc outside came for added strength. After soldering the joints we cleaned off the flux using Kwik Clean and compressed air to ensure all liquid was removed from between the glass and new came.

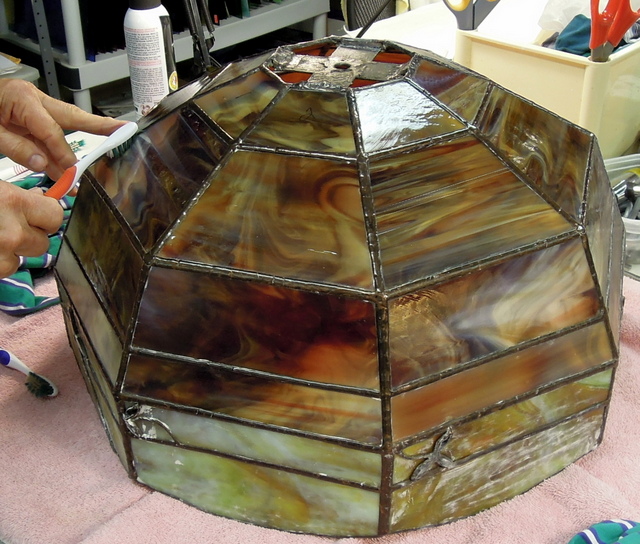
We had an opportunity to obtain a new Stained Glass Putty by Glass Pro, which we found to be excellent to work with. Once the panel was cleaned with whiting, we scrubed all of the lead came with  #0000 steel wool and then apply black patina. After which we use Kwik Clean again to clean the panel again before applying a coat of Clarity Stained Glass Finishing Compound.

Once the polish is dry we then use several soft cloths along with tooth brushes to ensure a bright clean finish.

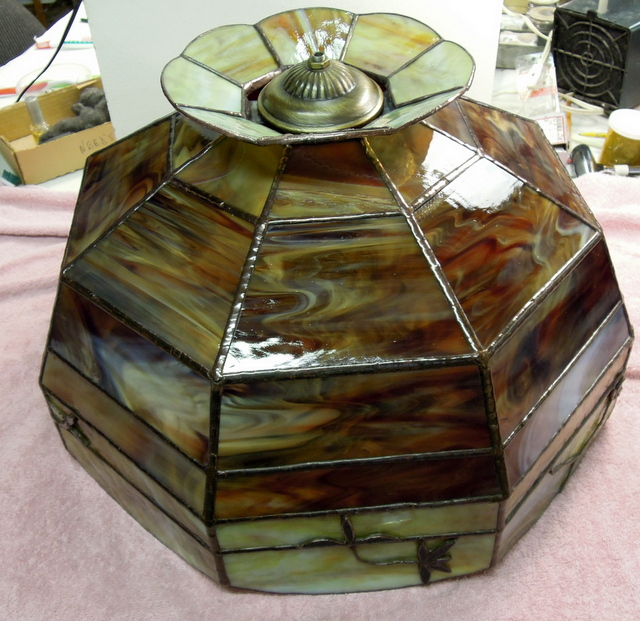
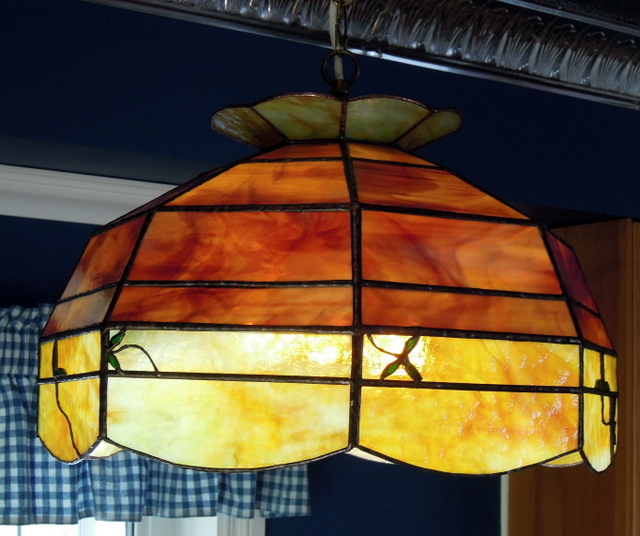
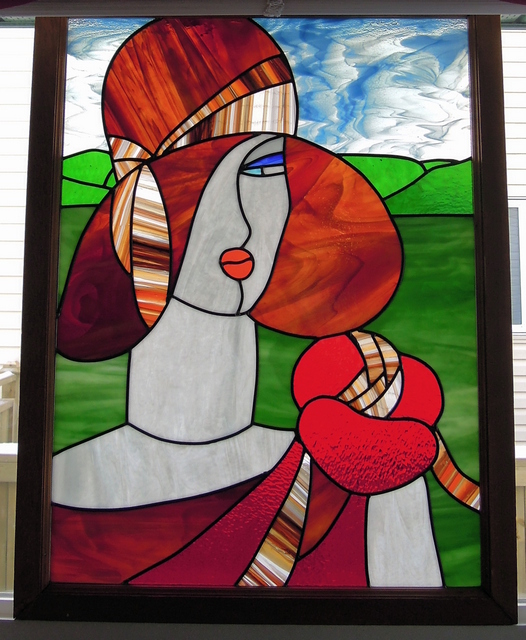
Here is the finished reconstruction, remounted in the heavy wooden frame. In due course our client in Calgary will be sending us a photo of the panel once she decides where to hang it in her home.

stainedglassrestoredladypanel2016

Designer Unknown


Alberta Rose Came Window # 2 Restoration

This is the 2nd Alberta Rose Came Window restoration. In the first one we combined pieces from the second one to have one that was all original glass. We believe these windows are 100+ years old.

The wow factor in regards to both of these restorations is that when we delivered the 2nd window we were informed that both were going to be installed in a new home on Negril Beach in Jamaica, sometime in the not to distant future,

In the second one we had to put in all new glass for the stems, the amber across the bottom and new leaves for the left and right roses while the centre rose leaves remained original glass. Also the roses and background granite clear glass is also all original. It took us quite sometime to find the best replacement glass, but well worth the effort.

StainedGlassRoseCameWindow#22016

The following 3 photos show the left rose with new leaves, the next one is the centre rose all original glass and the last photo is the right rose with new leaves. The pink petals of the roses were a very pretty glass which was quite thick.

LeftRoseNewLeaves

CentreOriginalGlass

LeftRoseNewLeaves

Although the next photo indicates window #1 it ended up being the second one as we took pieces from it to be able to have one with all original glass.

StainedGlassRoseCameWindow#2

The last photo is of the 1st restored window.

AlbertaRoseCameWindowDecember2013

Designer unknow

Tiffany Style Lampshade Restoration 2016

Clients in Central Alberta had this large Tiffany Style Lampshade, however it had been damaged and they wished to have it restored for over their kitchen table. Fortunately for the lampshade  the top ring of glass was bent flat down on the top of the shade but no broken glass.

StainedGlassTiffanyStyle2016

The next picture shows the inside of the lampshade before being reinforced with wire. This was a very large Tiffany Style lampshade and was quite heavy. If these lamps are not properly reinforced they eventually will come apart and fall due to the heat generated from the light bulbs. Then the crossed centrepiece would pull away and send the lamp crashing to the table.

StainedGlassLampInside2016

The photo below shows the removal of the top crown, also note the condition of the glass. Before taking the crown apart we number and photograph in detail to ensure that it all goes back together as originally made.

StainedGlassLamp2016

One of the side panels was badly broken and had to be replaced. Unfortunately do to the age of the lamp it was impossible to obtain and exact glass match.

StainedGlassTiffanyStyleLamp2016

To reinforce the hanging portion of the lamp we soldered in pieces of wire attaching them to the various seams along with the copper cross portion. The picture belows details the wire being attached and before the soldering was completed.

StainedGlassPartialyRepaired2016

Before attaching the crown we cleaned and started the polishing of the lampshade.

StainedGlassTiffany2016

Here is the lampshade nearing completion.

StainedGlassTiffanyStyleRepair2016

In the next photograph the top crown has now been attached and in the same original order.

StainedGlassTiffanyRepair2016

The fully restored lamp now hangs proudly in our clients home above their kitchen table.

StainedGlassTiffanyStyleLampRestoration2016


Page 3 of 7«123456»...Last »