In the fall of 2010 we were asked to see what we could do for a large stained glass church window for The United Church in Rimbey Alberta. We provided some conceptual ideas which the Church committee, tentatively agreed upon.
We then enlisted the stained glass design experts at Paned Expressions Studios Inc. in Edgewood Maryland USA. ( http://panedexpressions.com ) Then Martha Hanson and her design team came up with the “Noah’s Ark” design. This large church window measures some 78+ inches wide by 37+ inches high, is approximately 20+ sq. ft. and has some 530 pieces of stained glass and was constructed in 2 panels in the first half of 2011, with installation taking place in late June. This window was a memorial gift to the church by a 90 year old member of their congregation in memory of her husband. She was in attendance when we installed this window and she and the church members were extremely pleased with this wonderful addition to their church.
We are going to lay out below a photographic journal of the window being constructed, installation and the finished window.
We also wish to sincerely thank Paned Expressions Studios Inc. and Martha Hanson for their wonderful design and their dedication and support and help for our studio in our endeavors to create this Biblical scene.
The glass we used in this window was a combination of the following glass manufacturers Armstrong, Bullseye, Kokomo, Spectrum, Uroboros, Wissmach and Youghiogheny
Noah’s Ark Installed
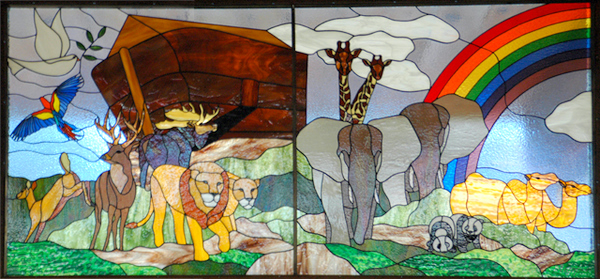
Designed by Paned Expressions Studios
The installed window faces north and the church has a large roof overhang, which depending on the time of day and current weather conditions can change the blue sky to greys. As the minister of the church said it is rather neat in that it appears that the storm clouds are lifting and sunshine and blue skies beckoning.
Next picture installed before scaffold removed.
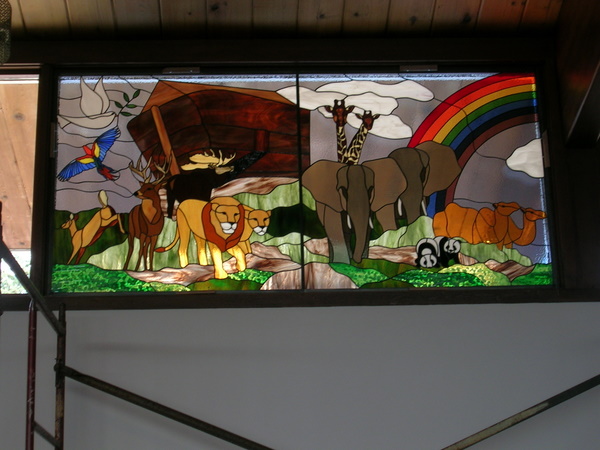
It was a cloudy day when we installed the window and this coupled with the large overhang and that the window faced north produces many sky color variables.
Next picture taken from outside the church looking at Noah’s Ark.
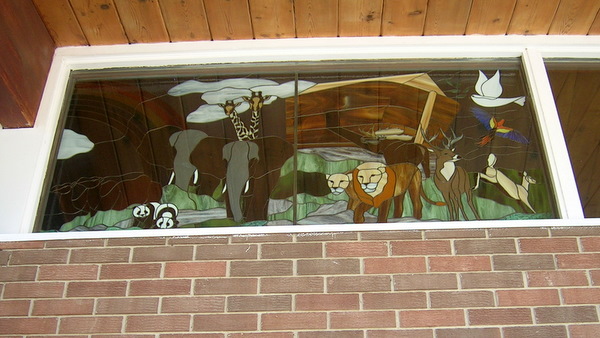
You can see the matching of the glass between the 2 panels especially in the ark.
Construction Photos of Noah’s Ark
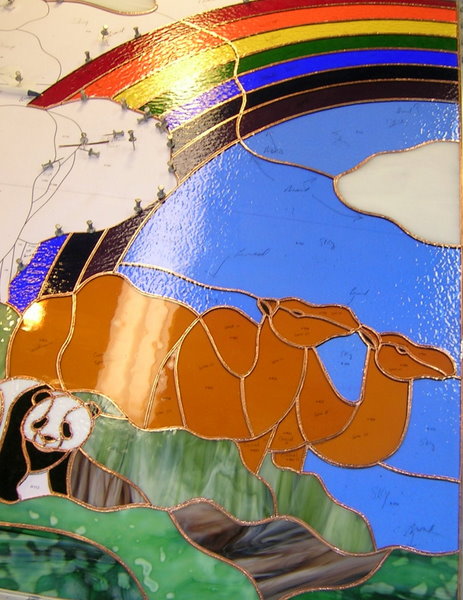
Next picture the Camels
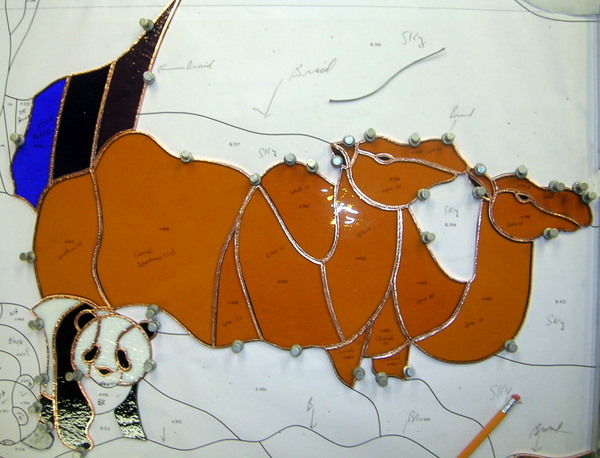
“Noah’s Ark” had to be constructed in 2 panels, we started on the right panel first in early 2011, this picture shows the 2 camels and the start of the Panda Bears.
Next Picture the Panda Bears
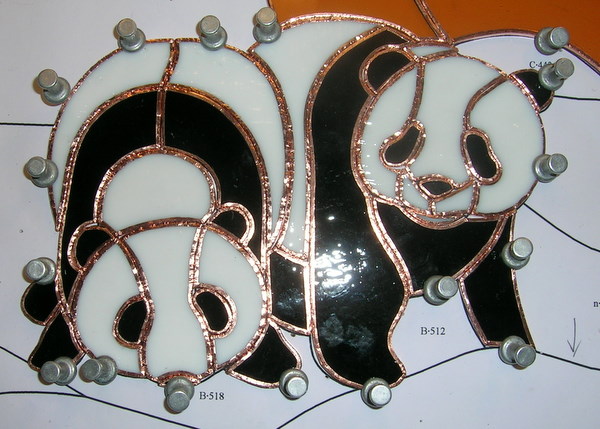
The Panda’s pieces of glass have now been all fitted and foiled.
Next picture features our construction methods:

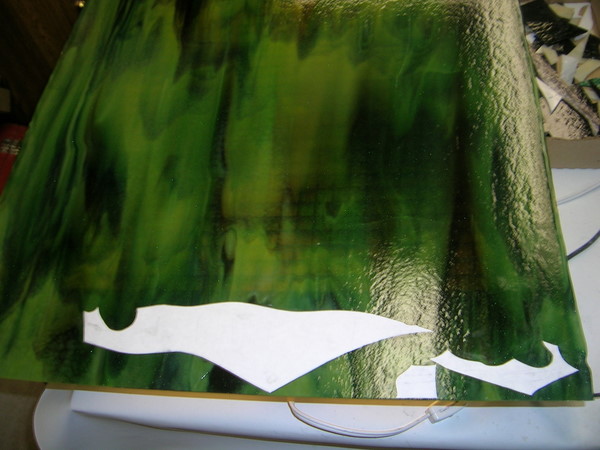
We are very meticulous when building our stained glass panels. After laying out the pattern (we use 2 layers of white, smooth ceiling tile duct taped together) in the case of Noah’s Ark we made separate sized ceiling tile panels which were overlaid on 3/4 inch plywood. After carefully measuring numerous times we outlined each panel with Morton Layout Blocks. We then decide where we wanted to start construction and we trace (using a pencil) the first piece from the pattern by overlaying with white freezer paper which is fairly transparent. The paper is held in place with push pins. We then cut out the that traced piece and using Elmer’s All Purpose Glue Stick adhere the freezer paper to the glass we have chosen, ensuring that we have the flow of the glass that we want decided upon. Many times we actually put lines on the freezer paper to ensure the correct way we want the glass to look. If there are pieces that we need to match we will trace out the areas and put those pieces together on the glass with nominal spacing to ensure proper matching and glass flows. You will note with the glass pieces in the center of the design that they match across the 2 adjoining panels.
We then grind the piece with the freezer paper glue to the glass, remove the paper then fit to the pattern. We then foil and burnish that piece of glass. Then we place freezer paper under the finished piece and trace the next surrounding piece or pieces, repeating the initial grind with the paper on the glass then exact fitting followed by foiling and burnishing. While this maybe in many artists minds a slow methodical process, we know that it allows for great fitting panels with consistent even solder lines, and very seldom when soldering do we have any solder run through to the reverse side of our panels. In Noah’s Ark we also installed between much of the glass In-bedded Strengthening Braid.
Next picture shows the freezer paper glued to glass.
Next picture shows the rainbow, sky, clouds and foreground
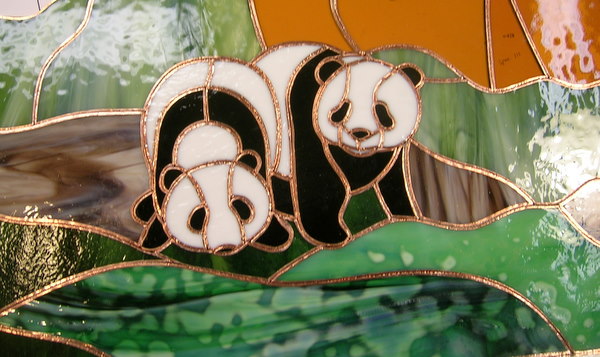
Next picture is close up of the pandas and surrounding area
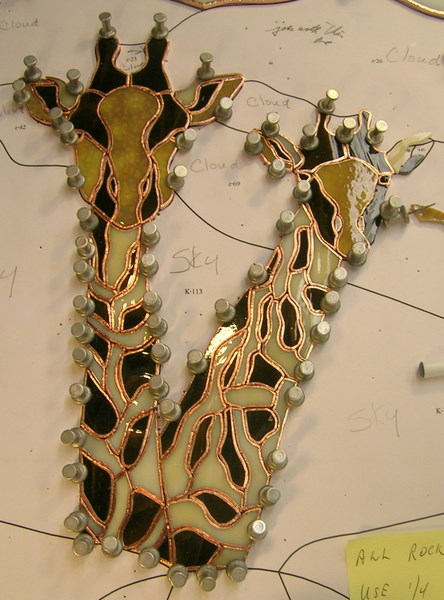
Next picture shows the Giraffes
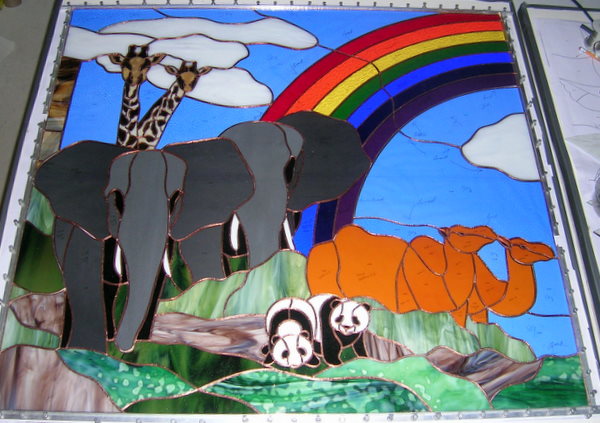
Next picture is the Right Panel ready for soldering
This is the Right Panel of Noah’s Ark, all ready for soldering. The left side pieces of this panel were all cut and matched to those that are on the right side of the left panel. This panel features the rainbow, elephants, giraffes and panda bears.
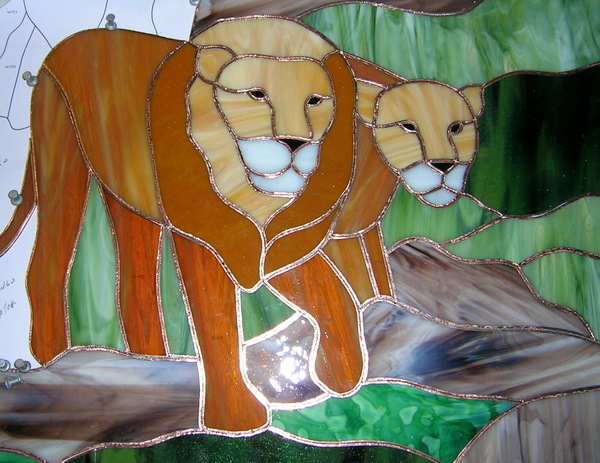
Next picture Lions in Left Panel
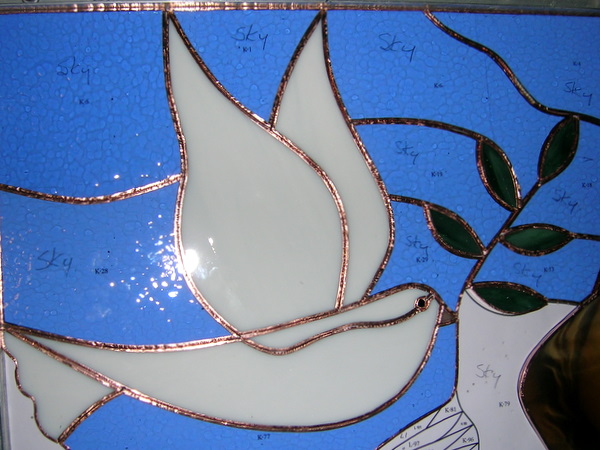
Next picture Dove with Olive Branch Left Panel
Next picture the Ark with a Bull Moose
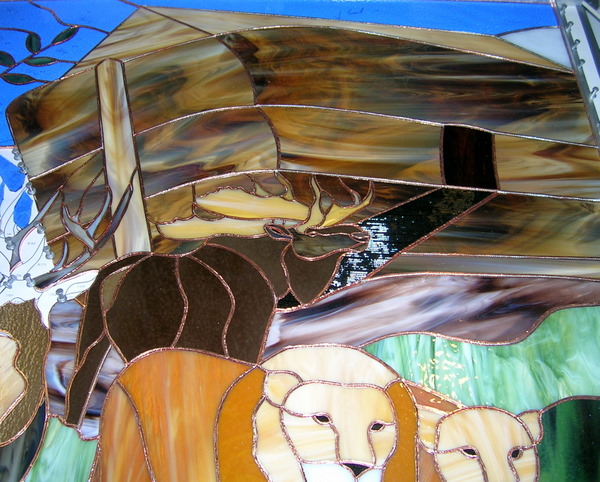
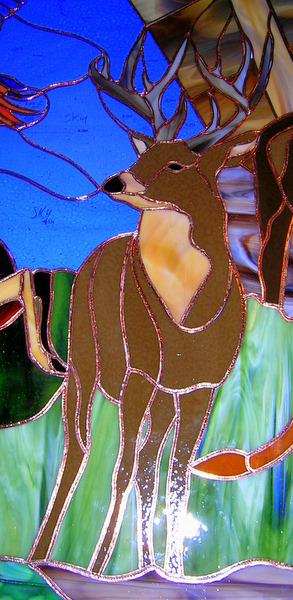
The Rimbey United Church is located in West Central Alberta and the Church Committee wanted some Alberta Wildlife, so we included a Bull Moose, Buck Deer and Doe, pictured above is the Ark with the Bull Moose.
Next picture Buck Deer
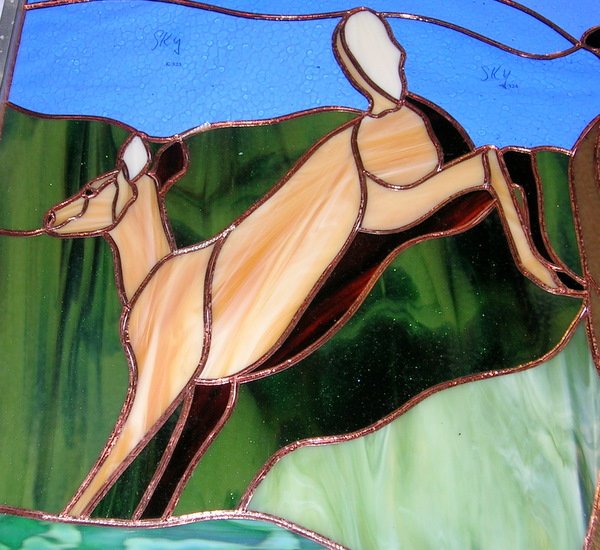
Next picture shows the Doe Deer
Next picture is a very colorful Parrot
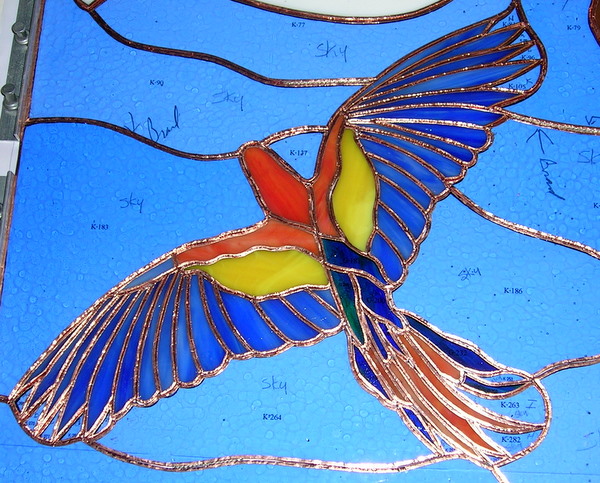
The church committee wanted to offset the rainbow on the right side with lots of color which was incorporated in this Parrot.
Next picture the completed Left Panel ready for soldering
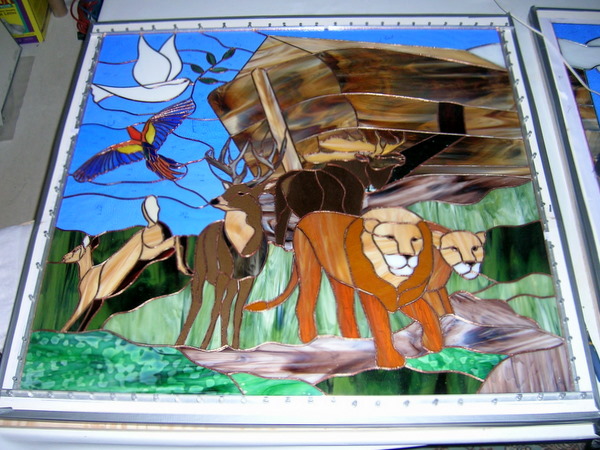
Next picture Noah’s Ark being installed.
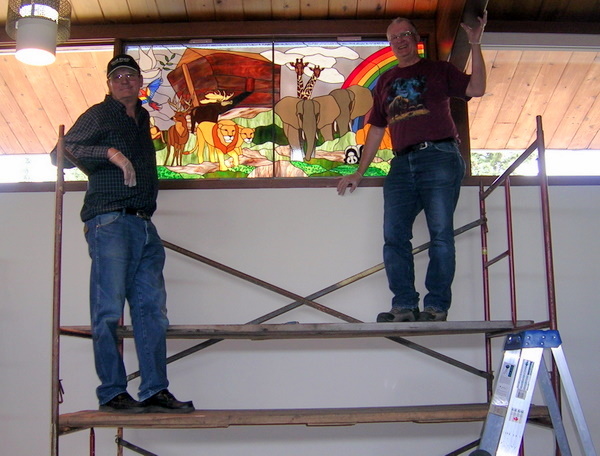
The church was most helpful in arranging scaffold, ladders and help for us during the installation process. We rented a van to transport the 2 panels which were very well packed but had to stand upright to ensure safe travel and that is the only way large glass panels should be transported.
Next panel installation of wooden molding to secure the window.
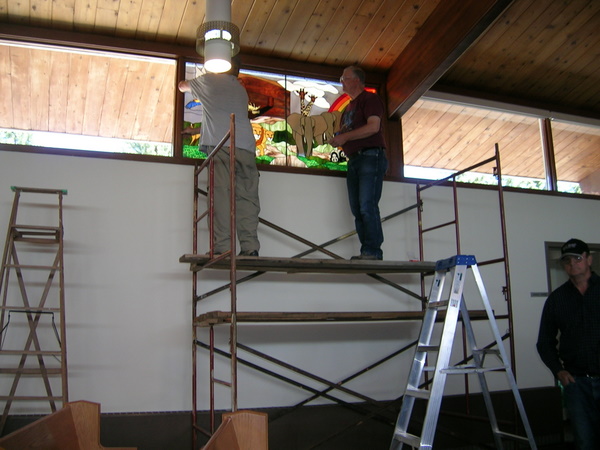
We provide wooden oak moldings which the church stained to match and these were cut to fit and put in place to hold the window in. The panels were surrounded with 3/4 inch Zinc Came with 1/2 inch H came in the center, with one panel slipping into the other.


