Our 1st Lamp Shade made in 2000

While wintering in Apache Junction, Arizona during the winter of 2000 – 2001, Bob took a course from Stained Glass Horizons located on E Apache Trail. We were beginning to learn the art of stained glass and wanted to learn about making lampshades. We had a great instructor, who was most knowledgeable and helpful.

When we first started learning the art of stained glass, we purchase the book Stained Glass Projects & Patterns which detailed several lampshades including this one. This book by George Shannon & Pat Torlen is a must have for any beginning stained glass artist but it also continues to serve us many times in our studio as a great reference manual.

The lampshade is to this day in perfect condition and used daily.

FirstLampSmallTableLamp2000

TopViewFirstLamp2000

FirstLamp2000

Design by George Shannon & Pat Torlen

Lamp Shade # 1 from their book titled

“Stained Glass Projects & Patterns”

Tiffany Style Lampshade Restoration 2016

Clients in Central Alberta had this large Tiffany Style Lampshade, however it had been damaged and they wished to have it restored for over their kitchen table. Fortunately for the lampshade  the top ring of glass was bent flat down on the top of the shade but no broken glass.

StainedGlassTiffanyStyle2016

The next picture shows the inside of the lampshade before being reinforced with wire. This was a very large Tiffany Style lampshade and was quite heavy. If these lamps are not properly reinforced they eventually will come apart and fall due to the heat generated from the light bulbs. Then the crossed centrepiece would pull away and send the lamp crashing to the table.

StainedGlassLampInside2016

The photo below shows the removal of the top crown, also note the condition of the glass. Before taking the crown apart we number and photograph in detail to ensure that it all goes back together as originally made.

StainedGlassLamp2016

One of the side panels was badly broken and had to be replaced. Unfortunately do to the age of the lamp it was impossible to obtain and exact glass match.

StainedGlassTiffanyStyleLamp2016

To reinforce the hanging portion of the lamp we soldered in pieces of wire attaching them to the various seams along with the copper cross portion. The picture belows details the wire being attached and before the soldering was completed.

StainedGlassPartialyRepaired2016

Before attaching the crown we cleaned and started the polishing of the lampshade.

StainedGlassTiffany2016

Here is the lampshade nearing completion.

StainedGlassTiffanyStyleRepair2016

In the next photograph the top crown has now been attached and in the same original order.

StainedGlassTiffanyRepair2016

The fully restored lamp now hangs proudly in our clients home above their kitchen table.

StainedGlassTiffanyStyleLampRestoration2016


Vicki’s Lamps

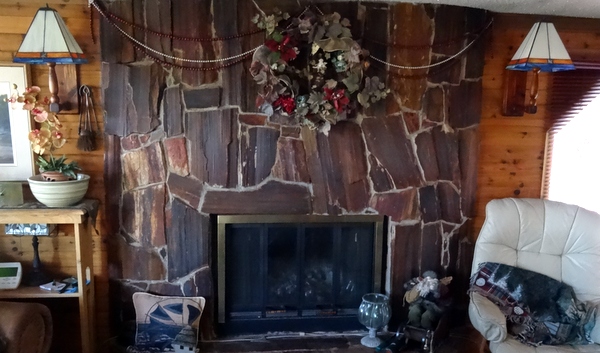
We were asked to make 2 lamp shades one for each side of Vicki’s fireplace in Medicine Hat.

StainedGlassVicki'sLamps#3DSC08512

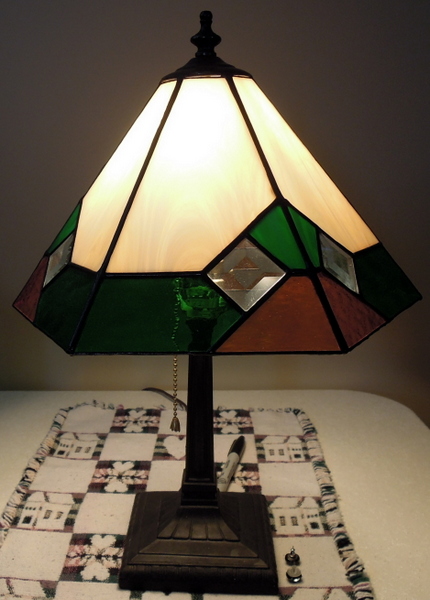
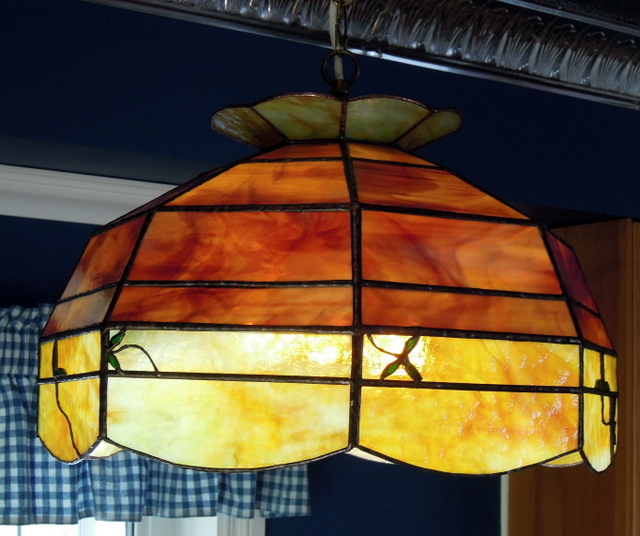
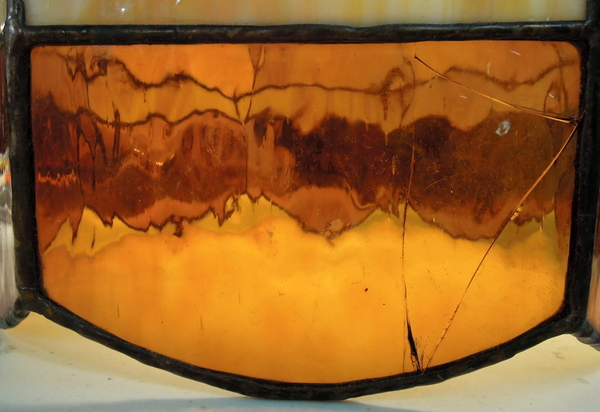
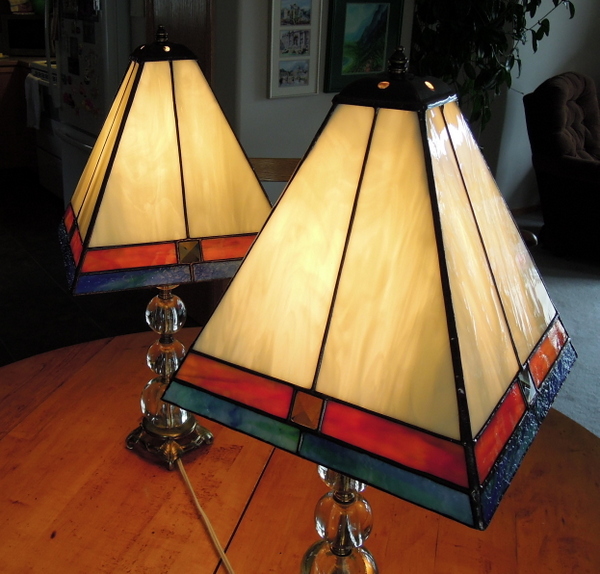
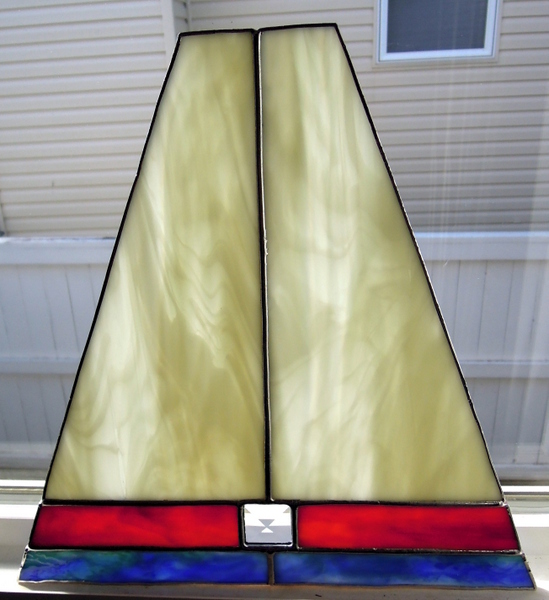
The next picture shows the lamps in our home prior to delivery to Vicki. The glass that she wanted gives off a very warm soft light. We used Spectrum glass SP 201.61S Ivory Opalescent, 1 inch sq bevels and the bottom glass is Uroboros art glass U-00-621 & U-65-540.

StainedGlassVicki'sLampshadesMay2015

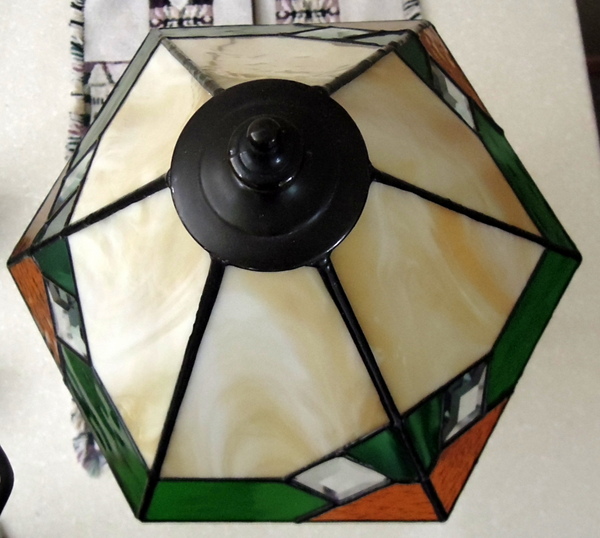
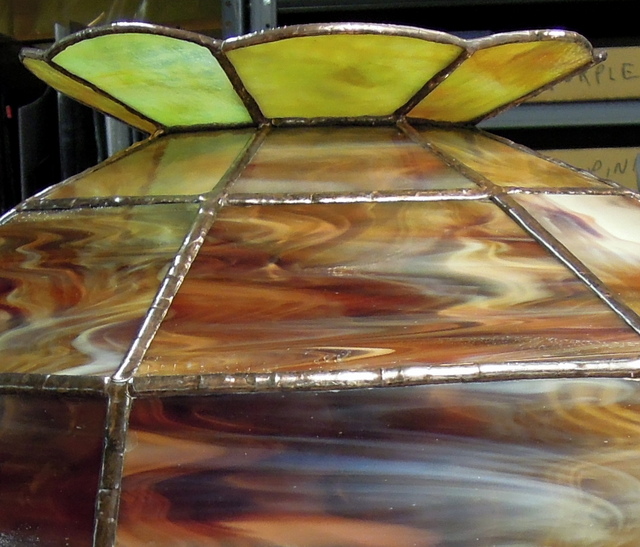
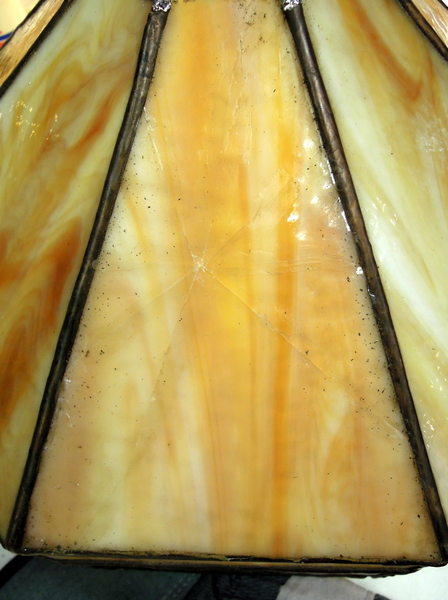
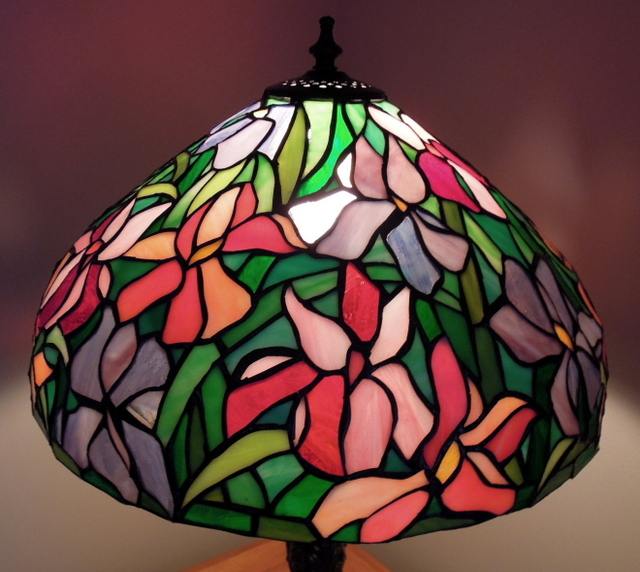
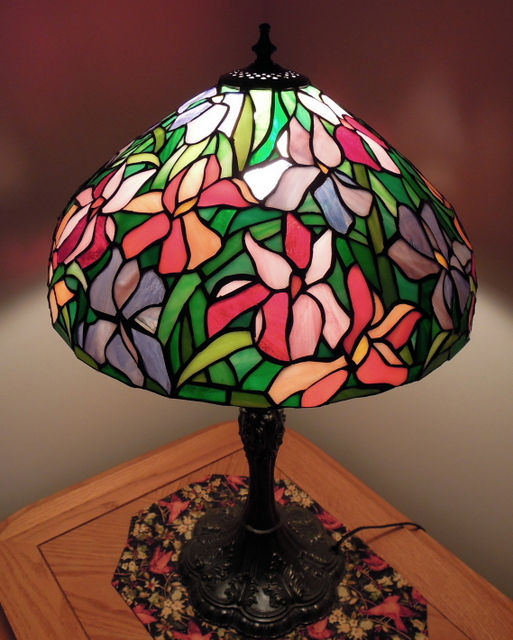
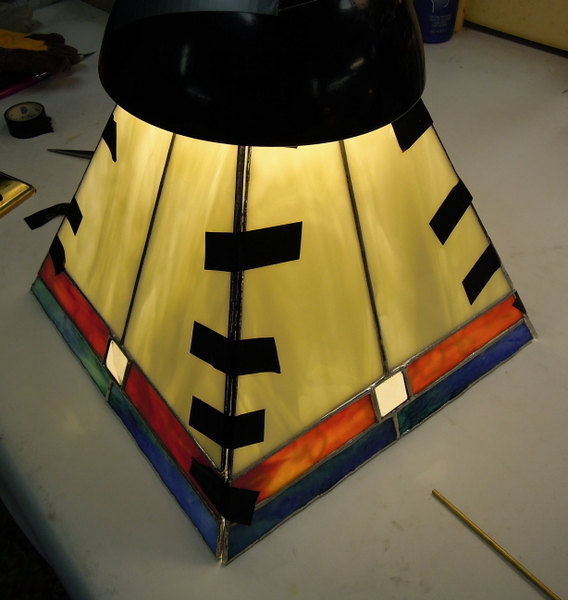
Close up of one of the shades by the fireplace.

StainedGlassVicki'sLamps#4DSC08513

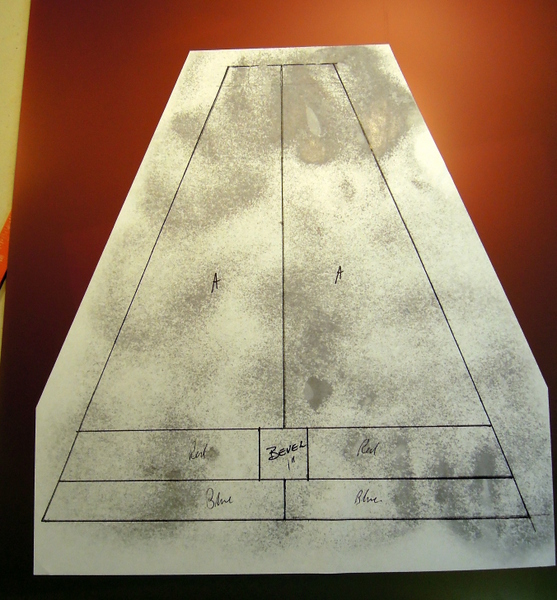
We took Vicki’s pattern design and transferred it onto X-Ray film. We then cut out each pattern piece and traced onto the respective glass to be used.

DesignPatterngluedtoX-RayfilmVicki'sLamps

Using Morton layout blocks we set up this jig to allow us to make the 8 panels required for the 2 lamp shades.

MortonLayoutBlocksforVicki'sLampPanels

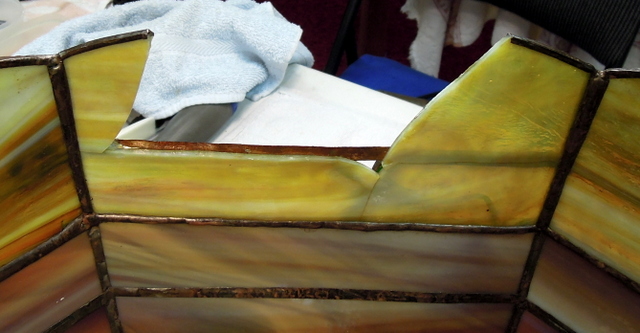
When tracing onto glass we made sure that the glass matched for the 2 top large panels. Then each piece was fitted, foiled and then soldered for each panel. We also ensured that the bottom pieces of Uroboros art glass matched as well.

Vicki'sLamppanel

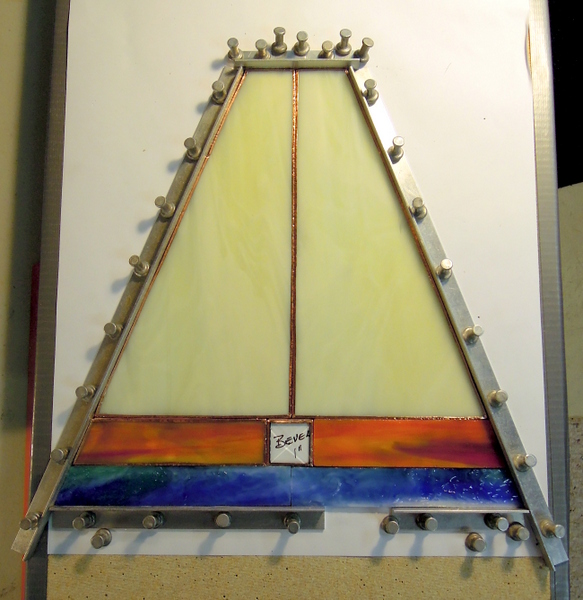
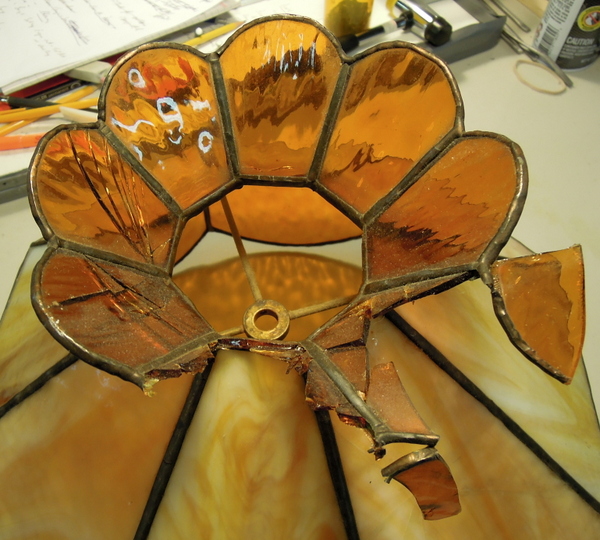
Here is a photo of 1 of the panels after being soldered.

Vicki'sStainedglassLampPanel

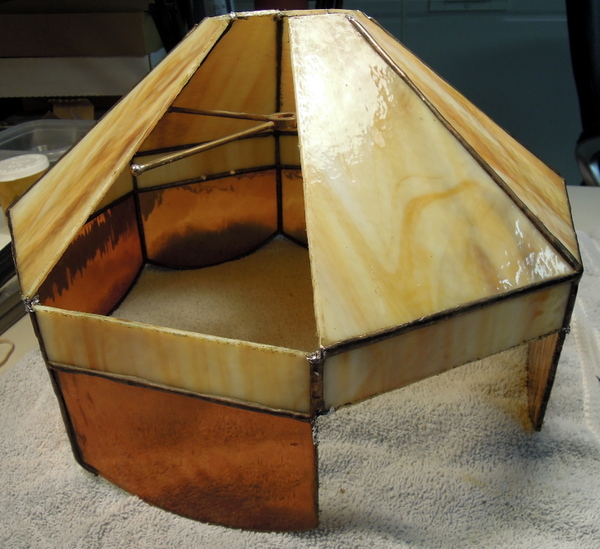
Once 4 panels were completed we laid them out, then joined them together with electrical tape.StainedGlassVicki's1stlamp2015

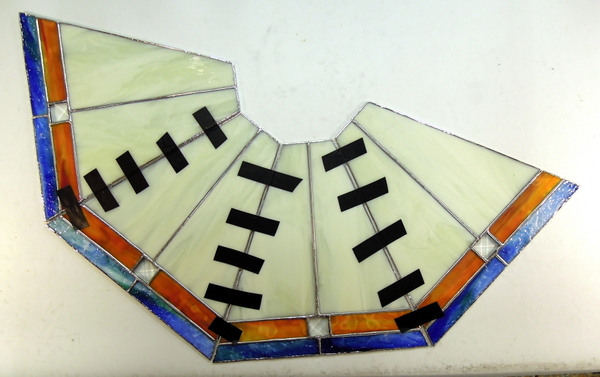
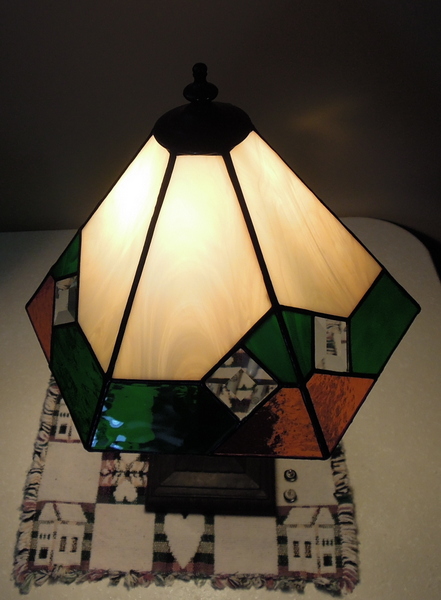
After raising the 4 panels held together with electrical tape we put a light over the top to get and idea as to how the lamp shade would look when completed.

StainedGlassVicki's1stLamp2015 (2)

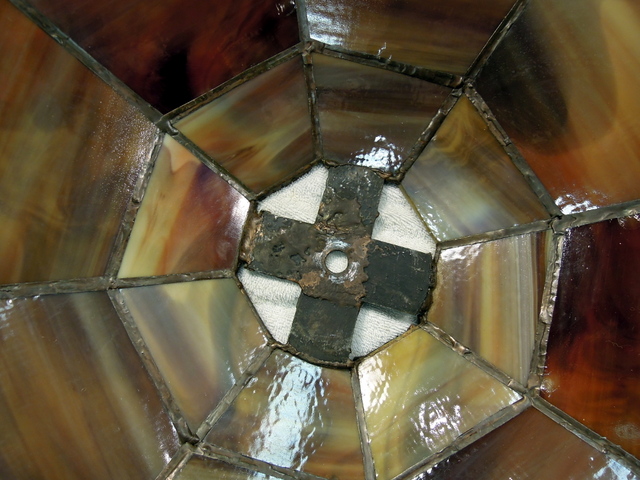
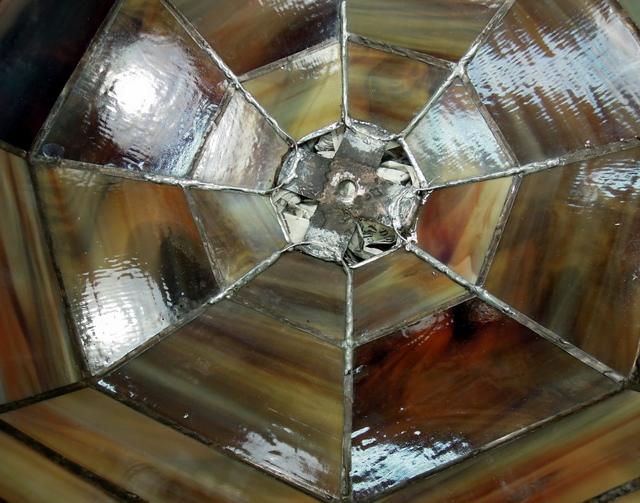
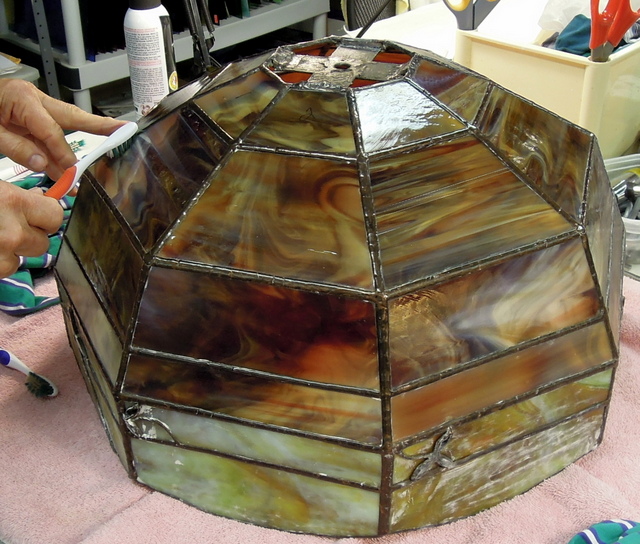
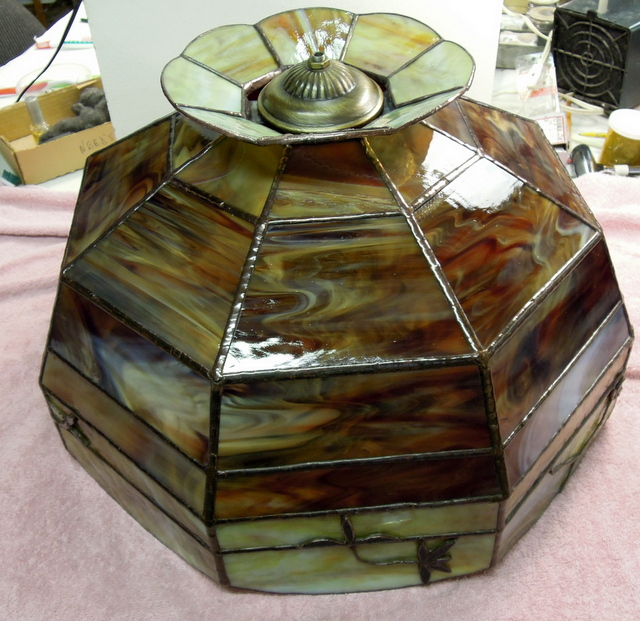
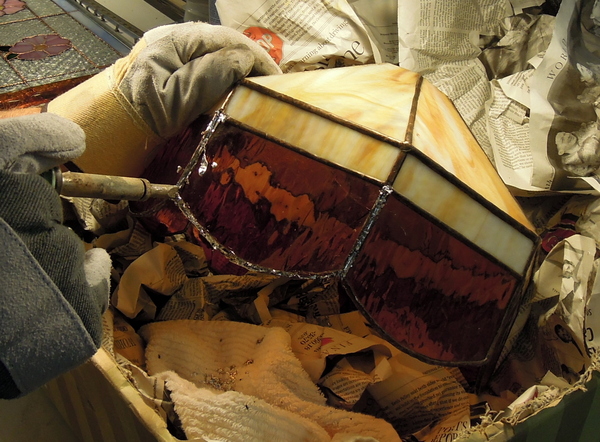
We then made sure that the lamps are level and square, touch solder the joints, and when sufficiently strong place the shade in a large box filled with newspaper. Using a small level we then fully bead each seam inside and out. We also used a 4 way spider for additional strength before soldering on the vented vase cap. Once completed each lamp shade is then cleaned with Kwik Clean, and this time we applied JAX pewter antique black patina, after which the shade must again be cleaned with Kwik Clean. Then Clarity stained glass polish is applied and the lamp shade is then polished using a soft cloth and toothbrushes on each seam.

Lamp Repair – Restoration July 2014

A picture story of a broken Stained Glass Lamp Shade. The picture below shows the damage to the lamp’s crown.

StainedGlassLampBrokenCrownJuly 2014

The next photo shows the one large lamp panel with serious cracks in it.

StainedGlassLampBrokenPanelJuly2014

This last photo shows the broken bottom panel. There were 4 crown pieces, 1 large panel and 1 bottom panel which were broke.

StainedGlassLampBrokenBottomPanelJuly2014

When we take out broken lamp pieces we use a large low sided box filled with crumpled newspaper for support of the lamp shade, then slowly and carefully remove the broken panel. What helps in this process is to take steel wool #0000 only to clean the old solder seams of their dirt and patina, as it allows faster melting of the old solder and less chance for heat build up to damage other pieces.

StainedGlassLampRemovalofBottomBrokenPieceJuly2014

The next photo shows the lamp shade with all of the broken pieces and the crown removed. Then all of the edges need to be thoroughly cleaned and scraped of all of the old foil, using an X-acto knife, #0000 steel wool along with Kwik Clean. Then new foil has to be applied and burnished on to the existing cleaned areas and the new pieces to be used.

StainedGlassLampBrokenPiecesRemovedJuly2014

The next picture shows the crown fully restored.

StainedGlassLampRestoredCrownJuly2014

Once all the new pieces have been properly soldered in place, with beading as required along the edges. In this case we did our best to match the soldering techniques used by whoever made the lamp. Then the completed lamp shade is cleaned with Kwik Clean to remove flux. We then mixed some black and copper patina’s together to match the antique brass look. After that another cleaning with Kwik Clean, then Clarity stained glass polish applied, with final polishing using soft cloths and tooth brushes for the seams. Then double checking when on a lighted lamp stand which allows to see and find polish etc that we may have missed.

StainedGlassLampCompletionJuly2014

 Designer Unknown


Tiffany Lamp Repair March 2014

In early March we were brought from Calgary 2 Tiffany Style Lamp shades for repair. One of the shades vase cape as you can see in the first 2 pictures had pulled away from the lamp. This unfortunately was due to poor attachment of the vase cap to the lamp shade.


We had to fully remove this vase cap smooth out all of the solder joints, along with cleaning the cap and joints with steel wool. Always remember when using steel wool the only # that you can use and won’t scratch any glass is #0000. Then we re-soldered the vase cap not only to the outside lamp solder seams but also to all of the inside solder seams and to the top rim of the lamp shade.

Then we use Kwik Clean to remove any flux using tooth brushes and compressed air to ensure all of the Kwik Clean has been removed and the repair soldering is clean & dry. Once that is done we applyed new black patina where required, clean again with Kwik Clean.

Once we were satisfied with the repairs we then applied Kem Pro polish to both lamp shades inside and out. The other lamp shades vase cap was attached ok but we applied additional solder connections on the inside and of course cleaned the flux off, applied black patina, re-cleaned and then applied Kem Pro polish.  We then use soft cloths along with toothbrushes to ensure that each piece of stained glass in lamp shade is cleaned and brought to a luster shine. This takes some time due to the many pieces of stained glass in each shade and also both the inside and outside of the shades had polish applied.

The final picture shows one of the shades after being polished and ready to be returned to our clients who live in Calgary.

StainedGlassTiffanyStyleLampRepaired2014


StainedGlassTiffanyStyleRepaired2014

These Tiffany Style Lamp Shades Designed and Made in China

Page 2 of 3«123»