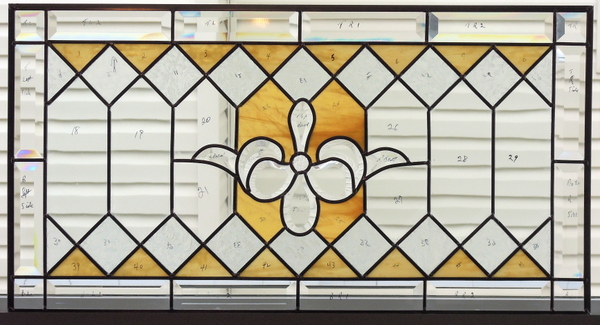
We have now completed the restoration of this came window, complete with new bevels and clear glass where required. As well we installed the Youghiogheny art glass for our client.
It is a pleasure to restore these old windows.
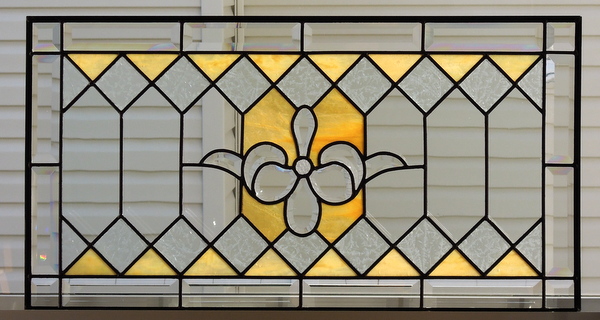
This picture was taken later in the day and shows how different sunlight angles change the look of these old came windows.
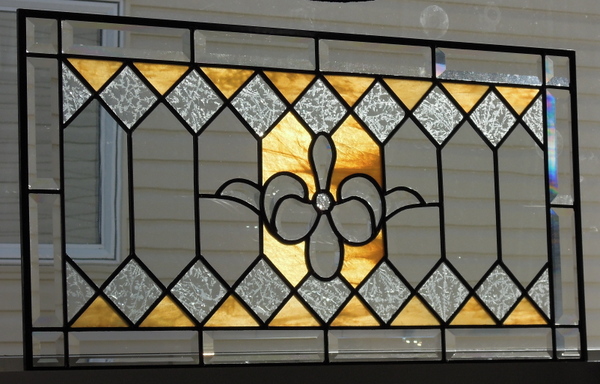
We have now cemented this panel on each side and this shows the Whiting application process. We have done this on both sides of the panel. This process sets in motion the hardening of the cement and we always allow at least 2 days for each side for this process.. We then clean the came with steel wool (#0000), apply black patina, use Kwik Clean to the clean the window after applying the patina. We have today applied stained glass polish to both sides of the window. Once dry, final cleaning and polishing will be done and the finish project will be ready for our client. Final pictures of the restored window will follow in due course.
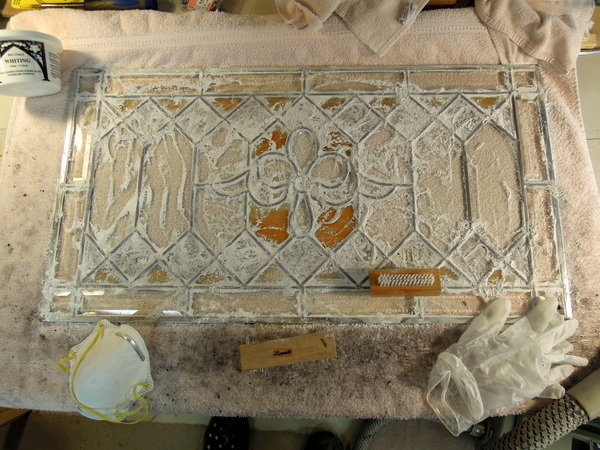
Now we are starting the cementing process. We like to use AmChem Stained Glass Putty as it stays soft and is easy to work with. If to hard one just adds a little Linseed Oil if too soft you can add some Whiting in order to have the consistency that works best. Vinyl gloves, small putty knife and an old fid work very well to get the putty into the came joints. Once that is done we then use Whiting to clean the panel, scrubbing the came, this process begins to “set the compound” It is best to leave the panel flat for at least 48 hours for the cement to set.
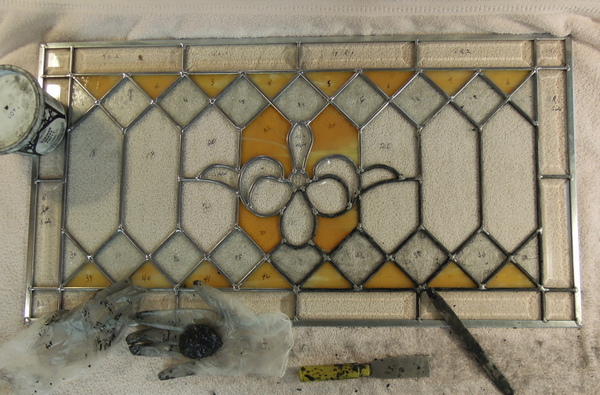
With all of the came joints now soldered we get to see the window in a daylight setting for the first time and how everything looks especially with new glass colors that our client requested. The 4 pieces around the bevel cluster were all cut from one piece of Youghiogheny glass to match together.
The front side joints have been soldered and we have turned over the panel to solder the reverse side joints.
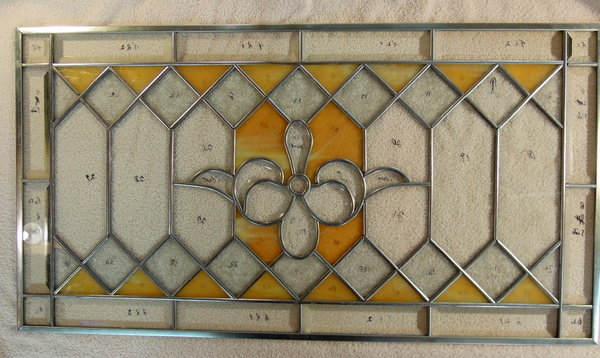
This picture shows the window with all glass now in new lead came and ready for the joints to be soldered.
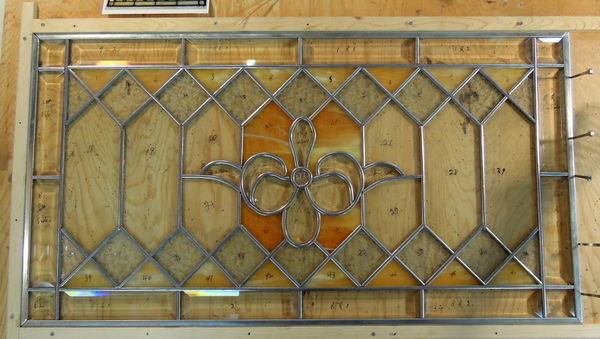
Here is the window with just a few remaining pieces to be put in. A little delay as we were blessed with the arrival of our 1st granddaughter a short while ago. We have now put in all of the bevels including the replaced broken on the top right of the center bevel cluster. In addition we had 2 new bevels made to replace the clear glass that was under each of the larger curved bevels.
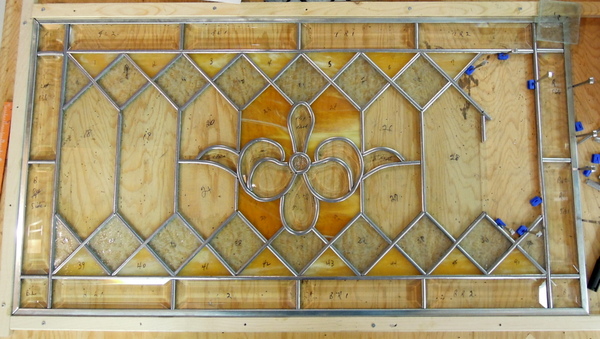
The rebuild process continues, our client wanted to surround the bevels with the same Youghiogheny glass that is being used in the triangles around the edge of the window. We just rough cut the 4 pieces, after drawing them out from the existing pieces one of which was broken. As these were cut from the same panel they will match across. They appear darker but only due to lighting when taking the photo. We will start at the top and work down along with putting the bevels in place as we proceed.
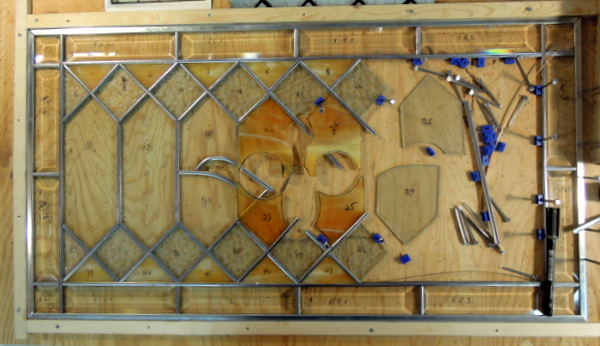
Reconstruction of this 50 – 70 year old came window continues. We are now getting to the center where new Youghiogheny art glass will be replacing the clear around of the bevels. You will note that some of these clears were broken and now replaced. A new bevel will replace a broken one together with 2 new additional bevels being added.
Also the the outer rim of clear glass triangles is also being replaced with the same Youghiogheny #YO – 5502SP Beige with Dense Beige Stipple.
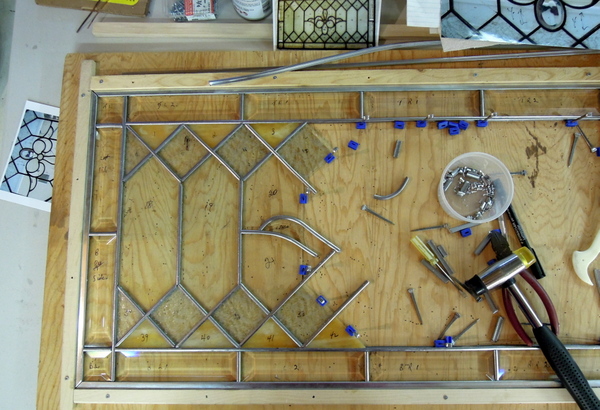
The things you find out when rebuilding 50 – 70 year old came windows? The number of nicks and scratches that happened to the glass pieces over the years only really show up once you wash and clean away the years of dirt, paint spots etc. We realized that a lot of this glass was 5 mil in thickness while some only 3 mil which necessitated using a different size came. What is wonderful about rebuilding these old came windows is that you have a chance to see how the artist of many years ago built the window with limited tools, which certainly is not the case today. You also come to the realize that the artist that originally built this window is probably no longer alive and your hands are now touching pieces of glass last held by this unknown stained glass artist from so many decades ago and one marvels at how well they plied their skills.
We are now starting to work on the interior portion of the window and replace some pieces with some Youghiogheny Art Glass. Enjoy
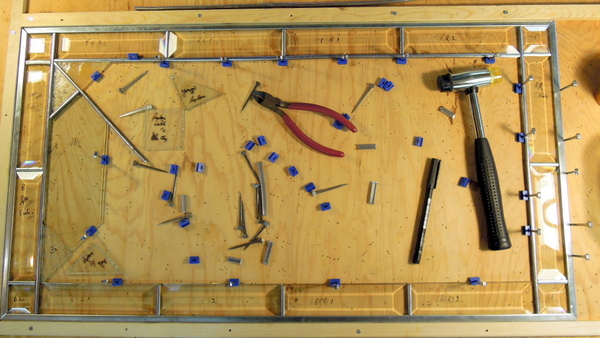
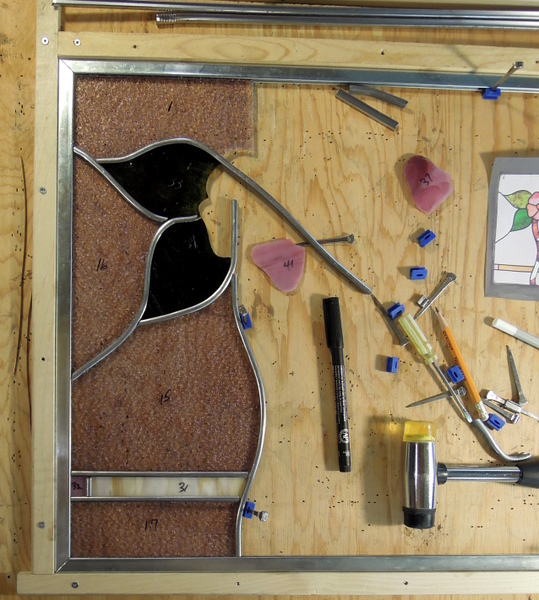
We have now laid out the window on 3/4 inch plywood with wooden strips on 3 sides, as well as cut the zinc came so we will end up with the same as the original window.
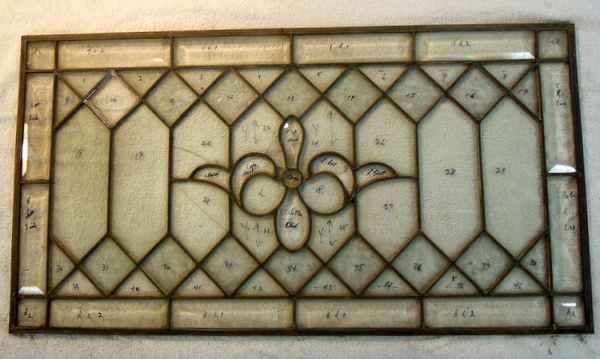
Now that all is exact we will start the restoration/rebuilding process. Each piece of glass will be cleaned and re-numbered again to ensure it’s exact location. We have stretched a couple pieces of came and will also insert steel strong line reinforcements internally in the came to ensure that the window will not bow out or collapse for many decades to come. As construction progresses we will continue to post updates and more pictures.
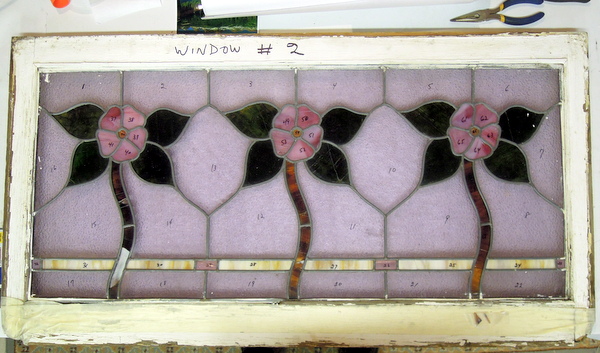
A client recently brought us this old came window which was rescued from a home in Central Alberta. The window is in poor shape with bulging and broken pieces of glass and a broken bevel. The first picture shows the window in it’s original wooden frame.
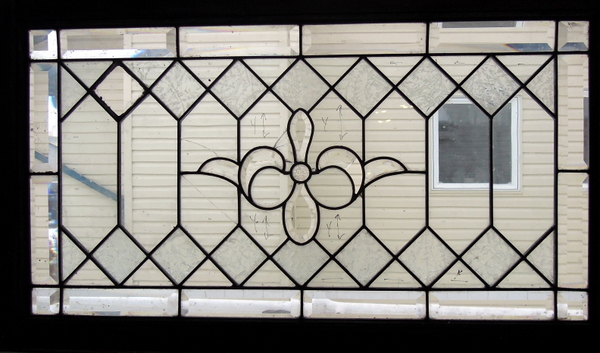
Here is a close up of the bevel area. The right curved bevel needs to be replaced and the area underneath each of these curved bevels our client would like to have bevels made to replace the current clear glass. In addition to replacing other broken glass, some new colored glass is going to be installed.
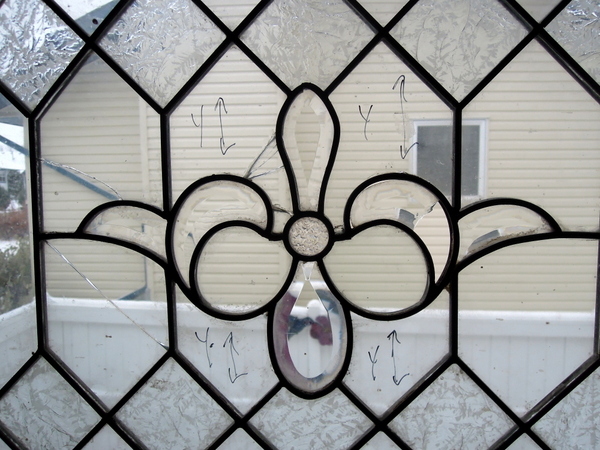
We are now in the process of getting the broken bevel and the new ones made.
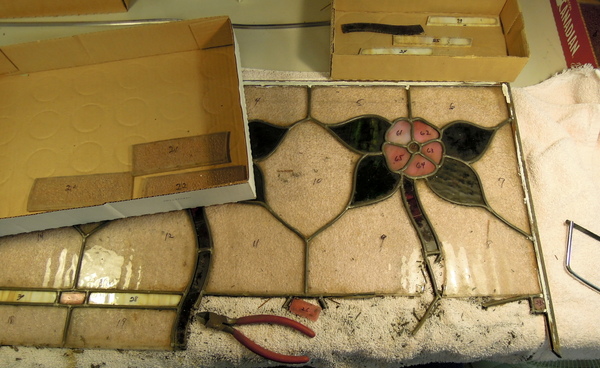
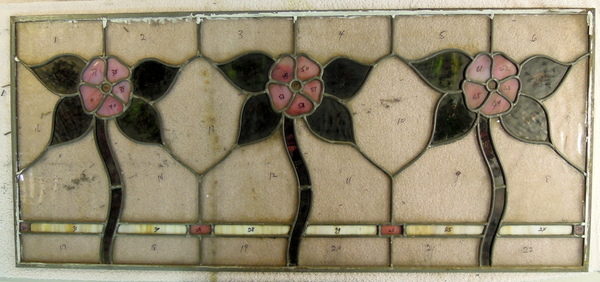
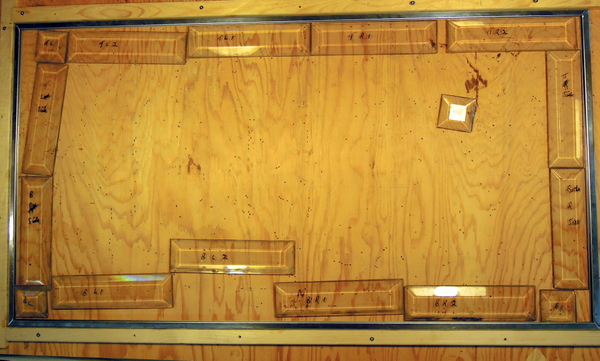
In the next picture we have taken the window out of it’s wooden frame, numbered each piece and have now taken the window completely apart. In due course we will show the reconstruction of this window.
