125+ Year Old Came Window Redesign and Restoration

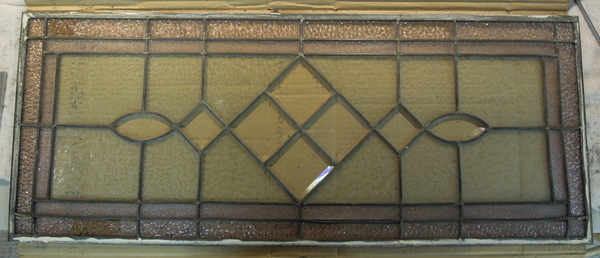
For many years this very old came window rested secured under a bed. It measured 16 inches high by 40 inches wide. Was in poor structural condition as well had numerous lightly colored broken border pieces.

Our clients had just built a new home in a smaller Central Alberta community and wanted to have it restored to go into their new transom window above their front door entrance. But the new transom window measured 12 inches high by 49 inches wide, so we had to redesign the window to those measurements, as well as come up with a design that would use the existing glass.

The following picture shows the window in it’s original condition.

CameWindowRestorationRedesign2014

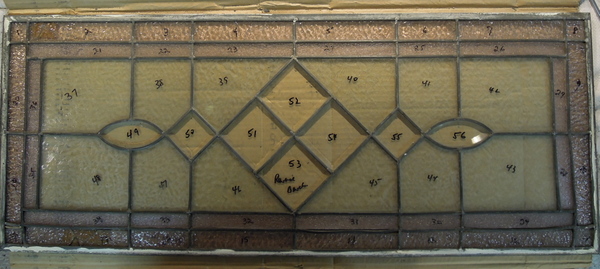
Before we start a came restoration and after taking the initial photo we then number each piece and photograph the window again.

Then we proceed to carefully cut away the rotten came and sort each piece by color etc and place them in separate boxes – beer flats and smaller soup can cardboard flats work well as it provides lots of room to spread out the various varieties of glass.

We used to clean each piece and renumber but found that was more time consuming than just cleaning each piece when we are ready to use it in the reconstruction process.

StainedGlassCameWindow2014

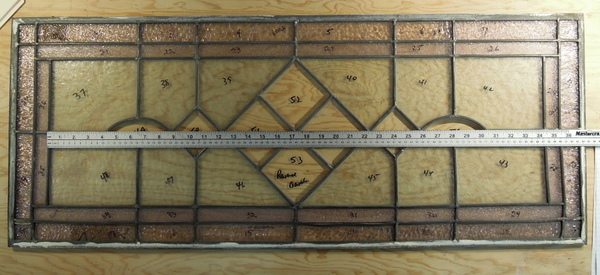
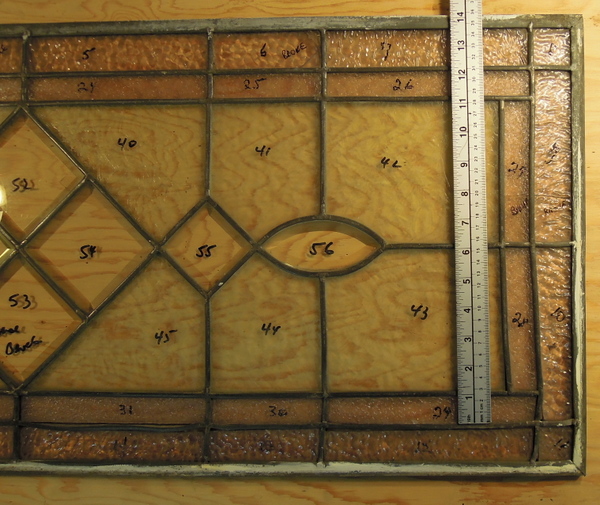
The next 2 pictures can give you an idea as to how much we had to stretch the length from 40 inches to 49 inches as well as shrink the height from 16 inches to 12 inches.

These measurements also included the new 1/2 inch came frame. We use a piece of 3/4 inch plywood for the base and make the frame from hickory hardwood with intermittently placed drill holes, then using  fine wood screws we attached these frames to the plywood base.

CameWindowMeasuring

You can see that we had to be creative to figure out how we would have enough of the colored border glass to go around.

CameWindowMeasuring#2

After numerous measurements to ensure final fitting accuracy, we built the wooden frame, miter cut the 1/2 zinc came frame and started the rebuilding process.

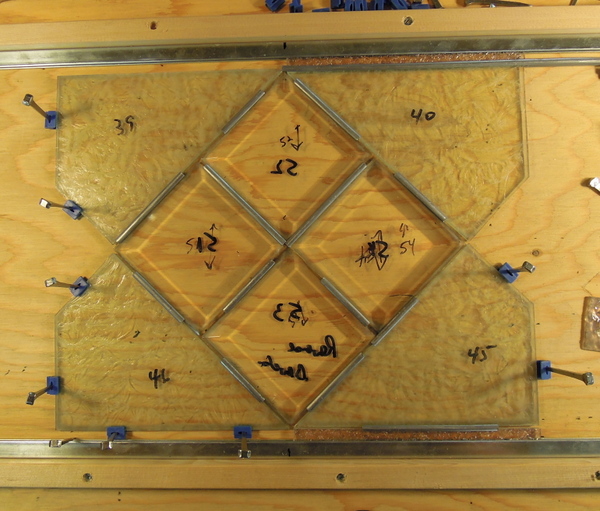
The following picture shows the start of the redesign process.

OldCameWindowRebuild

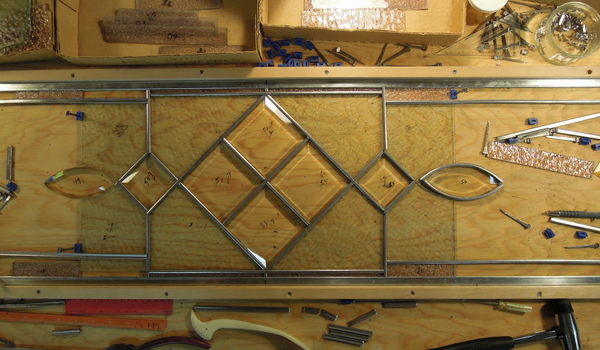
In the next photo we have expanded the left and right sides of the center bevel cluster, along with enlarging the colored border.

OldCameWindowRebuild#2


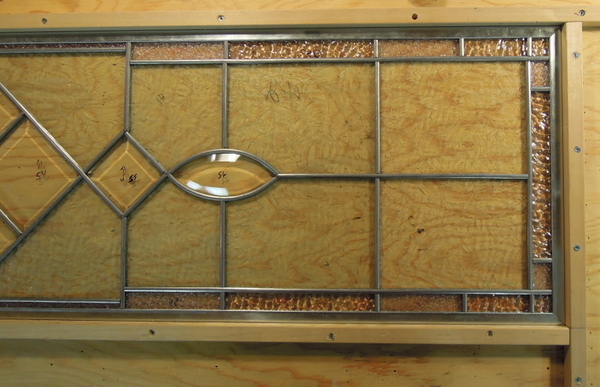
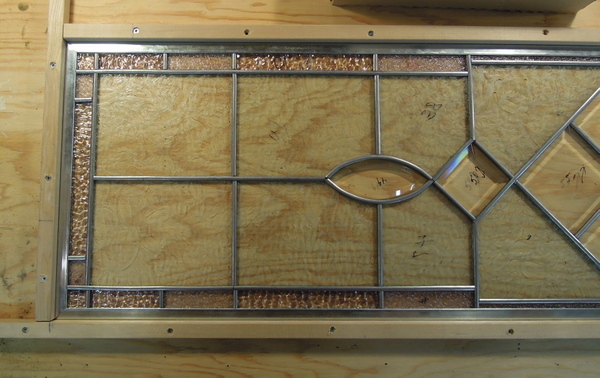
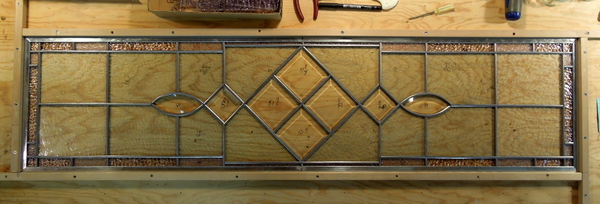
The following 2 photos show the completed redesign first the right side and then the left side.

RightSideOldCameWindowRebuild


LeftSideOldCameWindowRebuild

In the next photo the redesigned window is ready for joint soldering, cementing, whiting, then patina and polish.

StainedGlassCameWindowAugust2014

In the next picture the window is finished and ready to be taken to our clients. After soldering the came joints (cleaning the flux with Kwik Clean), cementing, cleaning with whiting, applying black patina to the came, cleaning again with Kwik Clean and applying polish, followed by lots of further cleaning, polishing with soft rags, along with using tooth brushes and X-acto knives to pick away any missed cement etc. we then have a beautiful window ready for our clients.

StainedGlassCameWindowCompleted2014

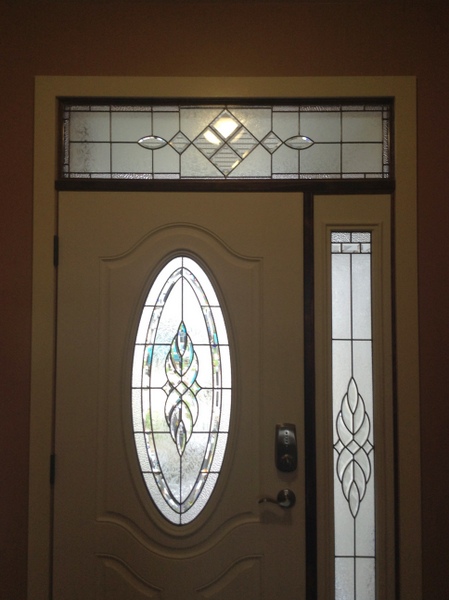
Here is the window installed in it’s new home location. Our clients were more than pleased with the results and how it fitted into the new transom window opening along with how it complimented the new door and sidelight beveled panels.

Stained GlassCame Window 2nd 2014-001

Redesign/Reconstruction by Bob & Flory Wilkins


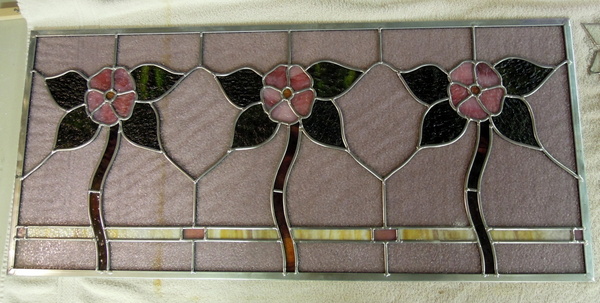
Alberta Rose Came Window Restoration # 1

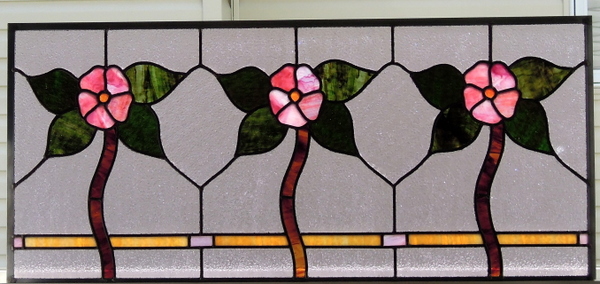
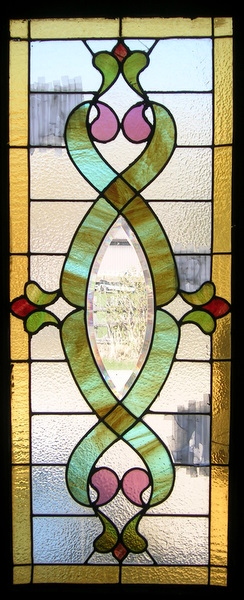
We have now finished the restoration of the 1st of 2 old Alberta Rose Came windows. This first one has a rose/pinkish granite background glass. Fortunately none of the background glass was broken however we did have to use some the green leaves, stems and amber border from the 2nd window, which allowed us to make one complete window with all original glass. This window was delivered to our client in Stettler Alberta a few days ago. He was most impressed and eventually we will be given photos of where he intends on placing it in his home.

AlbertaRoseCameWindowRestored2014

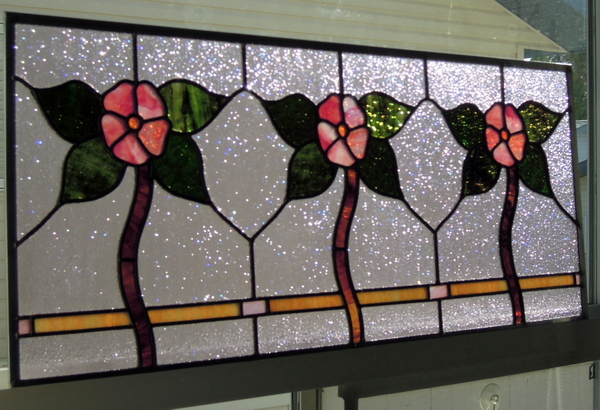
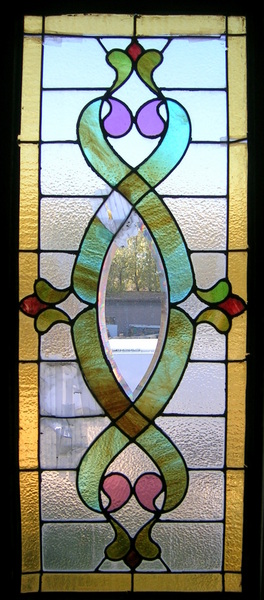
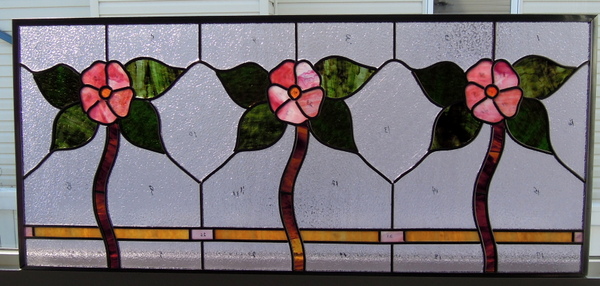
The second picture below shows of just how much the granite background glass glistens in sunlight as the sun’s rays change during the day.

AlbertaRoseCameWindowSunlight2014

To view more of the construction details about this Alberta Rose window follow this link on our website

Alberta Rose Came Window Restorations

We love to do these restorations of very old came windows but they are an intense labour of love on our part, requiring many hours of reconstruction from photographing, numbering of each piece of glass, then lots of cleaning of those pieces of glass to remove decades of dirt, paint and grime, then restoring them in new came, soldering, cementing, cleaning and polishing. These windows that have lots of this granite glass takes many hours of intense cleaning with various brushes, X-ACTO knife blades, polishing cloth’s etc. but the finished restoration gives our clients and ourselves a great deal of  pride and satisfaction.


Very Old Came Window Restorations

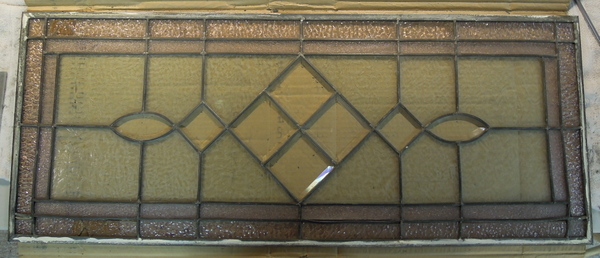
For the past few years we have been working on and still restoring more of these old came windows. We just wanted to give you a hint of what we have been doing with these old came window reconstructions, and down the road we will have  lots of pictures and their unique stories. Some of these windows are over 100 years old and the pictures below show the windows before being restored.

100+YearOldWindow

 Window # 1

Stained Glass 2010 263-001

 Window # 2

LavonaWindow

 Window # 3


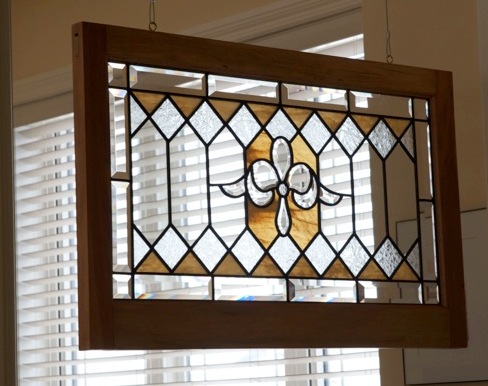
Judy’s Restored Came Window January 2014

Last year we rebuilt and restored this old came window, which included obtaining some new bevels and adding the colored Youghiogheny 5502SP art glass. Judy had the restored window mounted in a new wooden frame and it now proudly hangs in her home in Central Alberta.

Judy said “I finally have that beautiful window you repaired, framed, hung and as promised here is a photo.”

“Thank you again so much for the wonderful job you did. I just love it!”


Alberta Rose Came Window Restorations

We have now cemented the back side of the reconstruction and will be starting on cementing the front. Unfortunately there were many broken pieces of glass in both windows, however we were successful in restoring this window with all original glass by using pieces from both windows.

The following pictures shows the window in sunshine before we started to cement the came.

The reconstruction of this wonderful old Alberta Rose Came window continues.

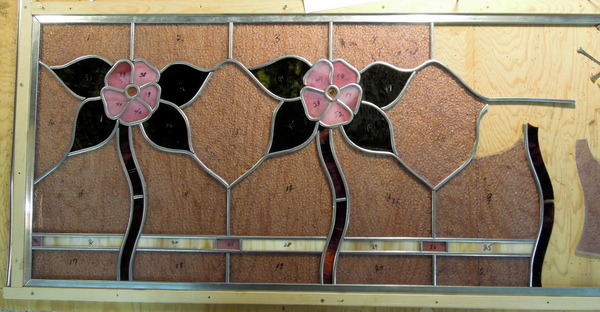
We now have started the reconstruction of these Alberta Rose Came windows. After discussions with our client we are going to first restore window # 2, which has the rose colored background glass. We will have sufficient pieces to replace those that were broken from window # 1, which will allow for this window to be rebuilt using all original glass. When it comes to doing window # 1 we will have to add new glass and will cover off that in detail when we get to restoring that one.

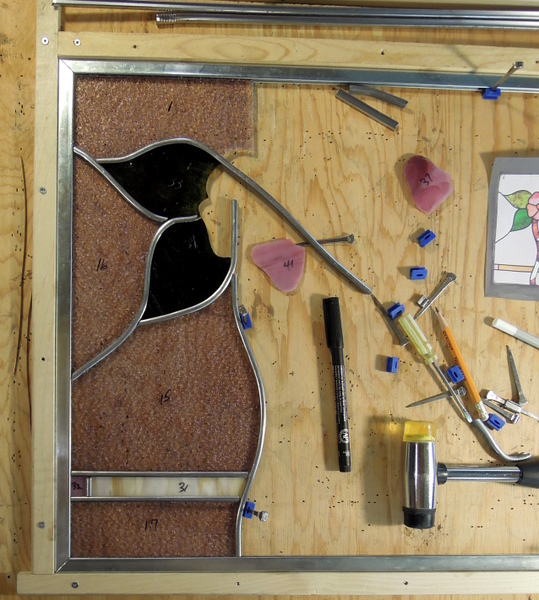
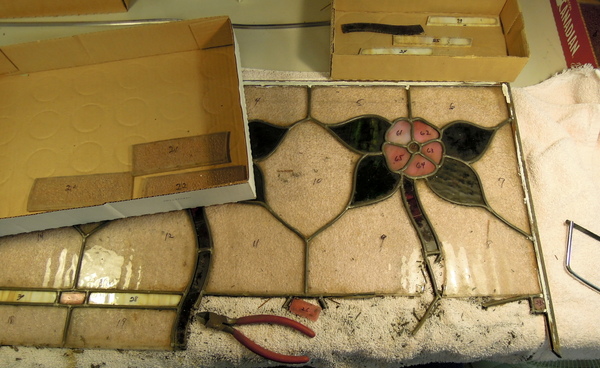
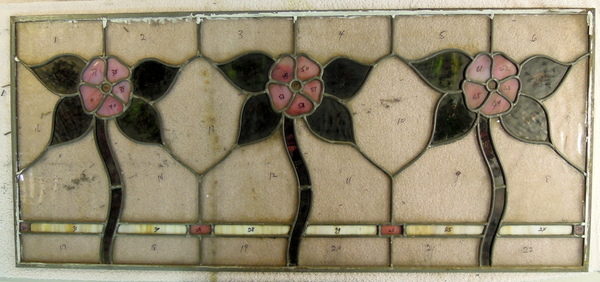
Very carefully we take apart these old came windows. Most of the glass in window # 1 was intact with only a couple of broken pieces.

This is window #1, taken out of its wooden frame, the next step is to dismantle it. The background glass appears pinkish but is actually clear as it is laying on a colored towel.

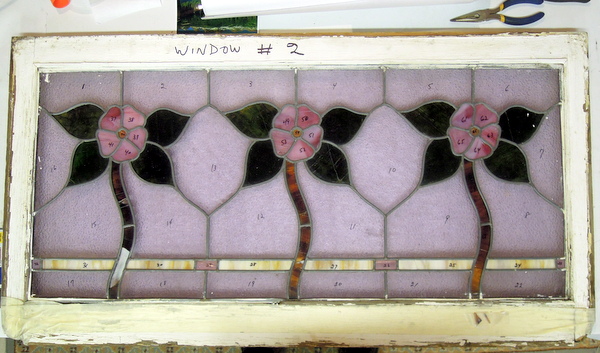
We recently were brought 2 of these old Alberta Rose Came Windows to rebuild and restore. They measure approximately 16 inches high by 36 inches long. This picture is of window # 2 which has a background glass with a slight rose colored hue to it. We have decided to do this one first. Fortunately on both windows the background glass and Alberta Rose glass is all intact. However the stems and some leaves and the cream boarder line across the bottom have broken glass. We will be having more discussions with our client and we maybe able to take pieces from the other window to replace those broken in this one. Unfortunately these are very old windows and to obtain replacement glass is impossible. Rather than have substitutions in both windows we will see if we can make one with all original glass and the other unfortunately will have some new glass. Window # 1 has clear background glass and it’s restoration process will follow once we complete this window. We have taken this window completely apart and are in the process of starting the restoration with more photos to follow.


Page 3 of 4«1234»