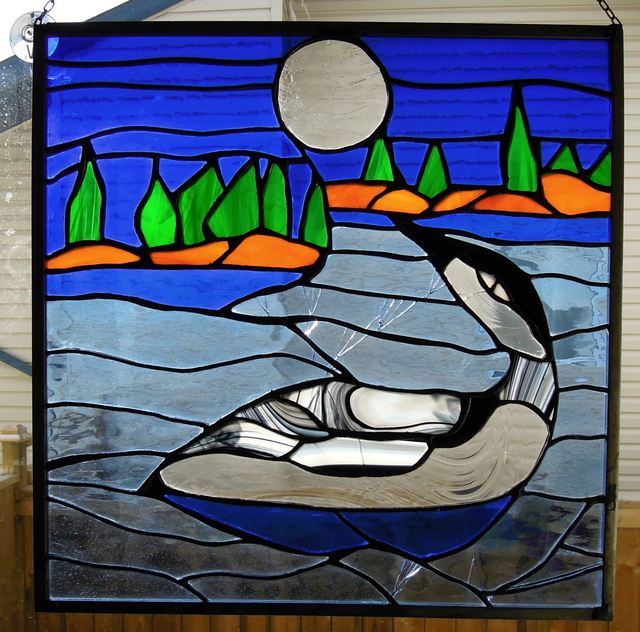
A client from Rimbey Alberta brought us this panel which if memory serves us correctly had been knocked off the window by her cat. When doing restorations like this we first do a rub by laying over the panel a taped down piece of white freezer paper. We then take carbon copy paper and rub the entire panel which traces the solder lines to the paper and that paper then serves as a guide to rebuild and restore the panel.
This panel was originally made by our clients daughter and we wanted to save as much as possible of her work when restoring this stained glass loon panel.
Then we removed the frame and proceeded to remove the necessary pieces of broken and other glass. In this case we worked from the bottom up and did not proceed beyond the dark blue glass below the brown colored glass as all from there to the top of the panel was still intact.
Fortunately we had matching replacement Spectrum Glass to replace the broken pieces.

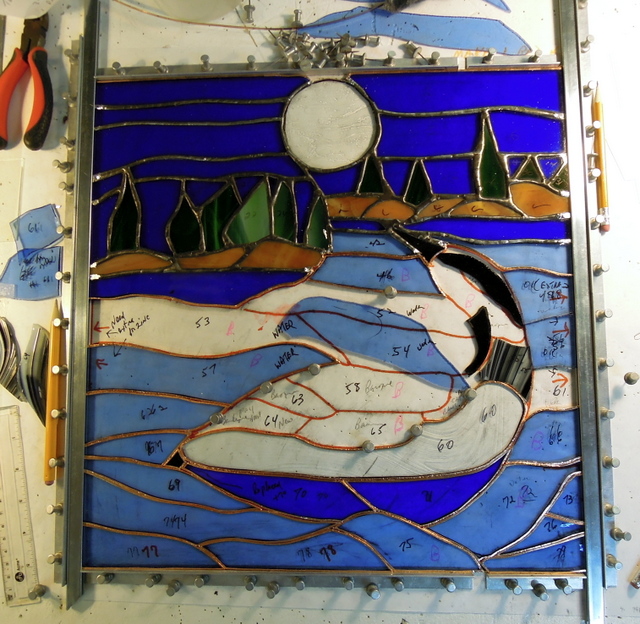
The next photo shows the rebuilding process. We had to use quite a lot of new glass in the lower half due to the breakage and to restore proper fitting of the pieces.
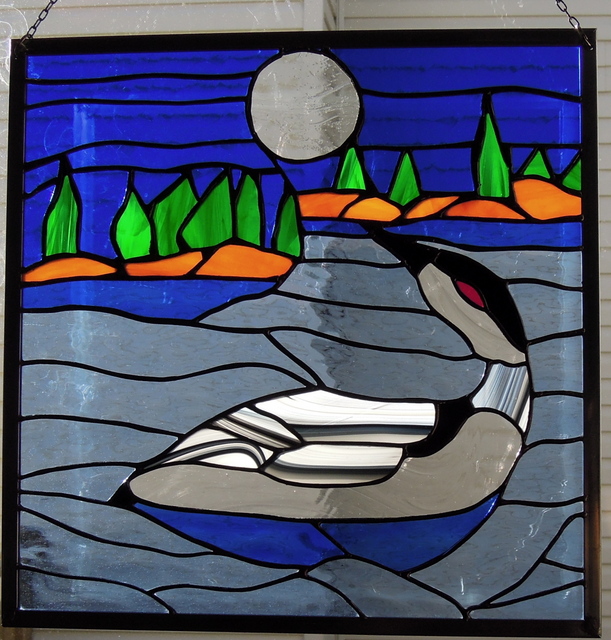
When one does this without taking the whole panel apart, it is necessary to first solder together all of the new pieces, then placing some thin clear glass under the restored part in order to bring it up to the same level as the original top portion of the panel. This is required to ensure that new pieces connect properly at the same level. At the request of our client we changed the loon eye to red.
We also installed a 1/2 inch new zinc came frame around the panel.

After soldering we clean the flux off with Kwik Clean, take steel wool (#0000 – which does not scratch glass) to the solder seams. Then apply black patina, again cleaning with Kwik Clean and finally applying Clarity (Kem Pro) stained glass polish.

