For one of our sons and family we made this transom window. It measured some 66 inches wide by 10 inches high. It was recently installed over their front door in Leduc Alberta.
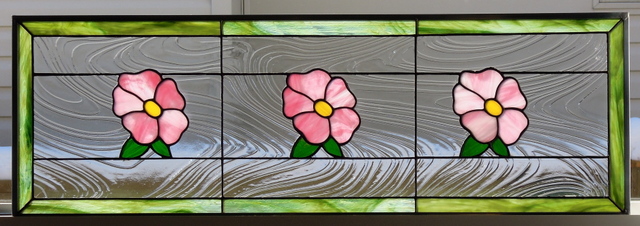
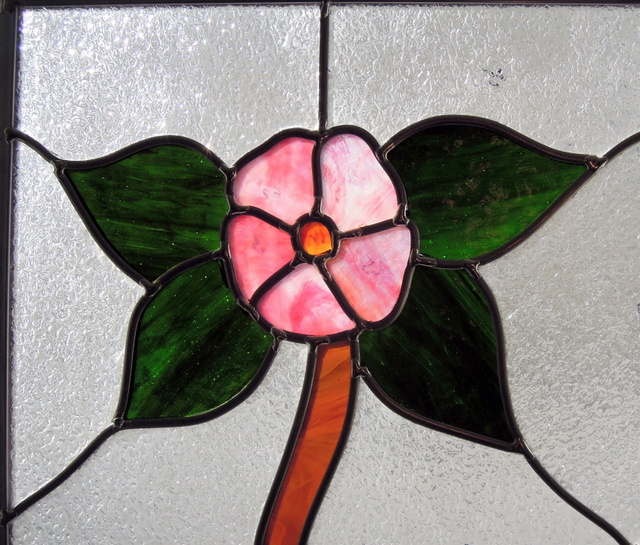
We incorporated the East Coast Bud design from our Glass Eye 2000 stained glass computer program from the initial design by Jan Williams. This was a Victorian Panel design Circa 1837 -1901 originating on the East Coast of the USA.
For the border glass we used Youghiogheny 900DSR a Dark Blue Waterglass. This is a beautiful art glass however for the inexperienced stained glass artist it can be difficult to cut as well as foil but the end result is well worth the effort. The East Coast Buds were made from Bullseye 2311-30 a Cranberry Pink & White Double Rolled.
The clear glass was Spectrum’s SP – 100B Barnwood, which we were able to procure prior to their selling of their business to Oceanside Glasstile in Carlsbad California. Fortunately we were able to match the barnwood across each section of the 3 Buds and the way it ended up the panels blended extremely well together across the full width of the design.
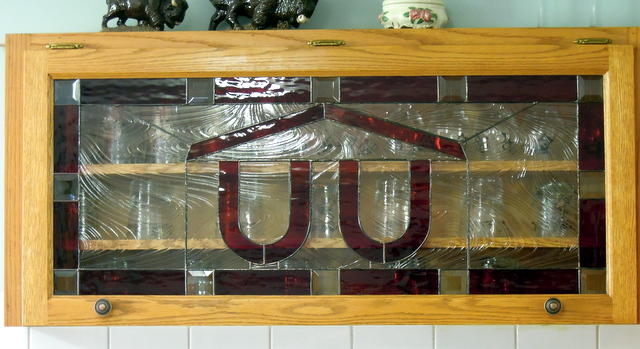
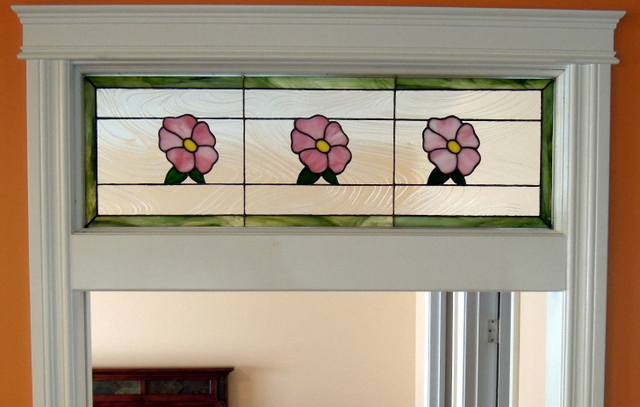
The first photo is taken from inside the home and one can see how the Barnwood glass matched across the window.
![]()
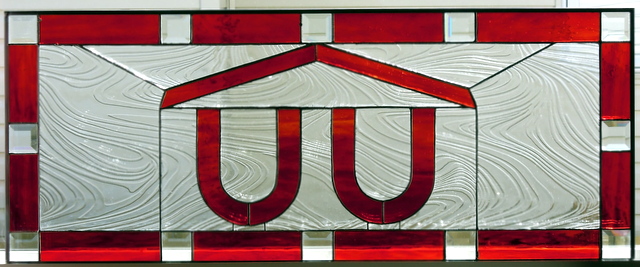
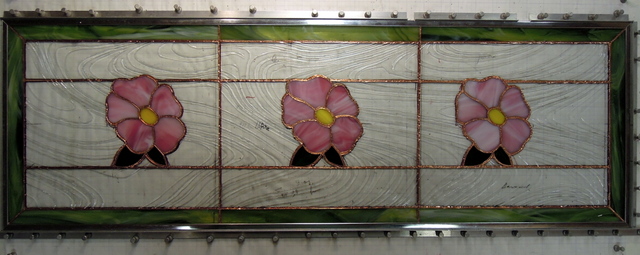
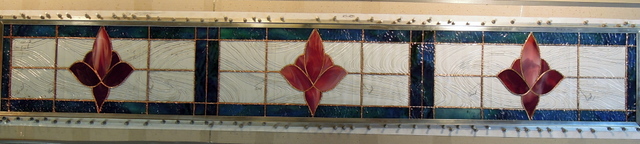
The next photo was taken from the outside of the home.
![]()
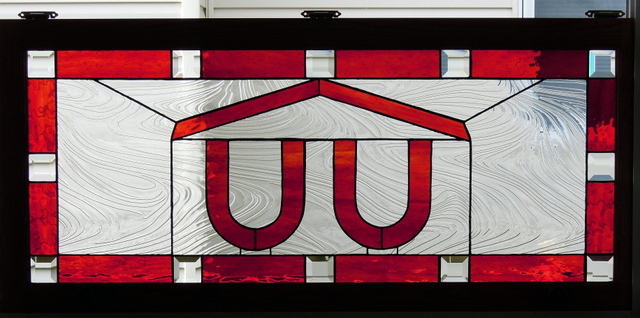
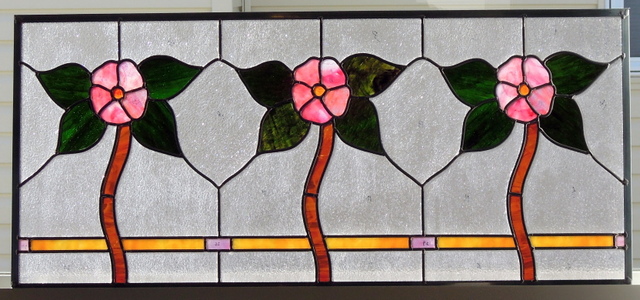
The next photo shows the transom above the main entrance beveled door and it’s beveled side panels.
![]()
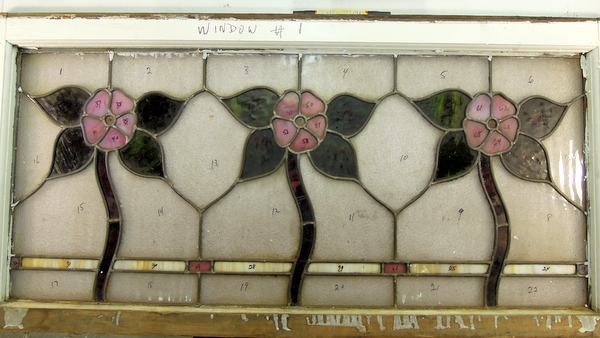
After printing off the design from our Glass Eye 2000 program we bordered the pattern using the Morton Layout Blocks system. We had to make sure that all of our measurements were exact and would fit the inside of the window frame. As well we used In-bedded strengthening braid to ensure panel strength and longevity.
![]()
The following photo shows the panel all ready for soldering. Once soldered we use Kwik Clean to remove solder flux. Then we cleaned the solder seams with #0000 Steel Wool applied Jax Pewter Black Patina, then cleaned the panel again with Kwik Clean. Finally we apply Clarity Stained Glass Polish and once dry use soft clothes and tooth brushes to clean and polish the panel and it’s solder seams.
Adaptation East Coast Bud design by Jan Williams
from Glass Eye 2000 computer program by Flory & Bob Wilkins