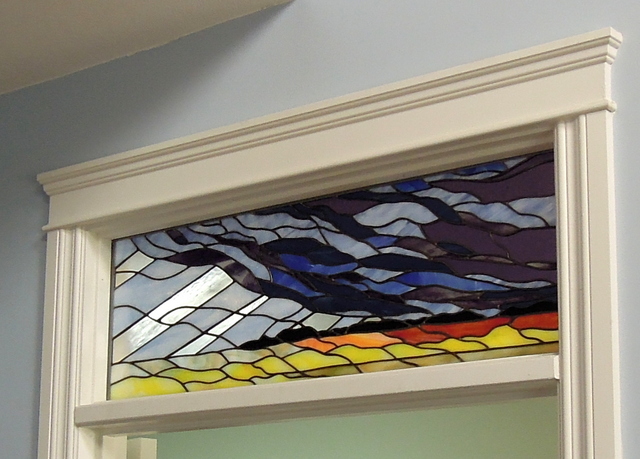
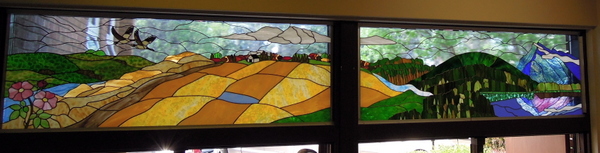
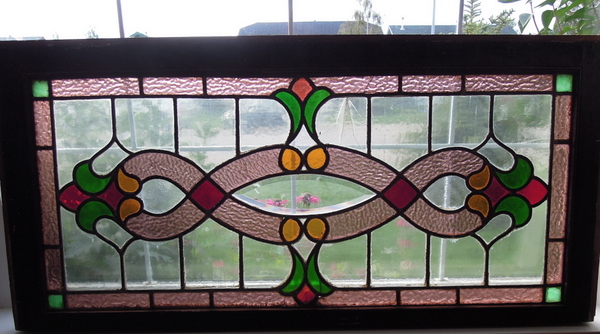
Brenda & her husband who live in Central Alberta, brought us this 100+ year old came window which is a family heirloom that they rescued from a century old family farm home.
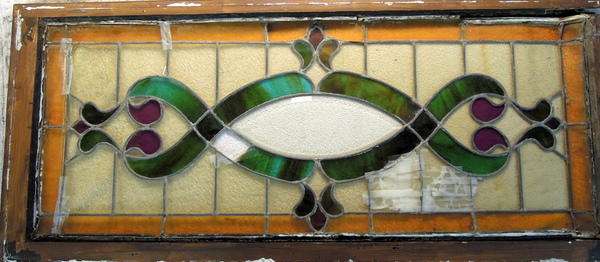
This is what the window looked like when it was brought to our studio.

The following picture shows the window after it was cleaned and before removal from the the wooden frame. Unfortunately there were 3 broken pieces in the rose colored border, 4 greens in the center were all cracked and or broken along with one center clear.
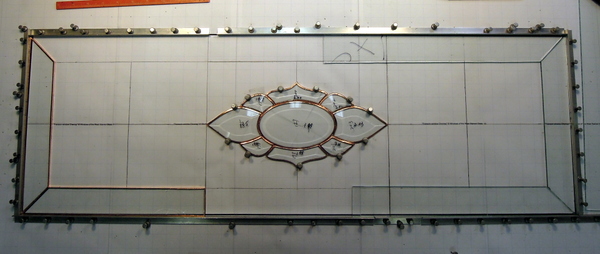
In the next photo the came window has been removed from the old wooden frame.
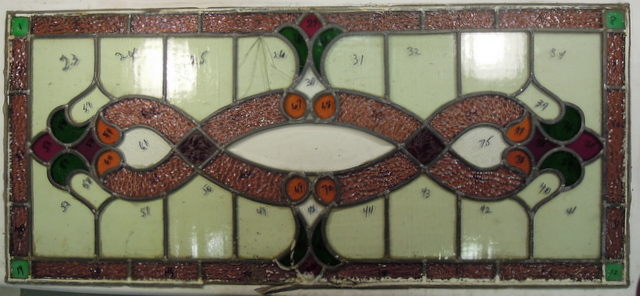
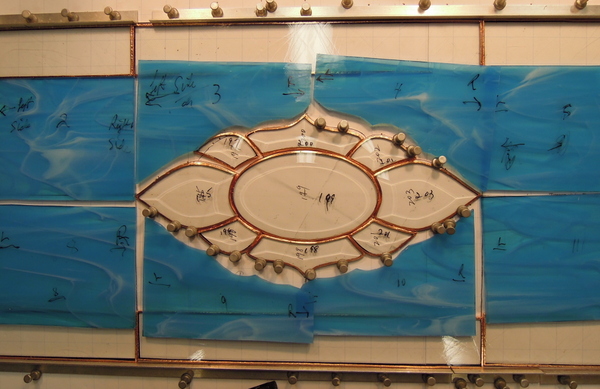
In the next photo the numbered pieces # 2 top left – 4 top left center- 15 bottom right center (rose border pieces) 26 (clear center piece) 28 – 29 – 45 – 47 (the 4 center greens) were all broken. The best alternative we could come up for the dusty rose border glass was an English Muffle Dusty Rose #4902. Our friends at Rubaiyat Stained Glass Studio in Calgary helped us to locate an older piece of clear as well as a very close matching green.
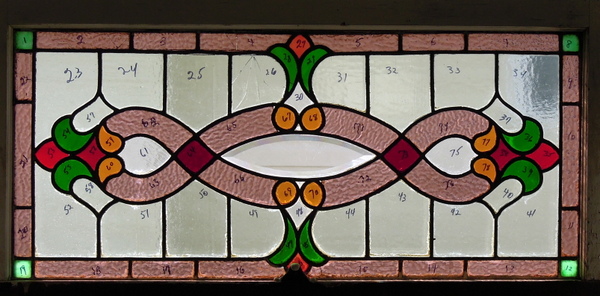
We take lots of photographs of these old windows before taking them apart, as well we number each piece. We set up a frame then start in one corner and work our way across the window, cleaning each piece of glass as we go along (we also re-number after clean each piece to ensure that it is put back in the window in the exact manner that the original stained glass artist installed them. Having good photographs certainly helps as we can bring them up on our computer to ensure that we have replaced each piece as it was originally placed in the window.
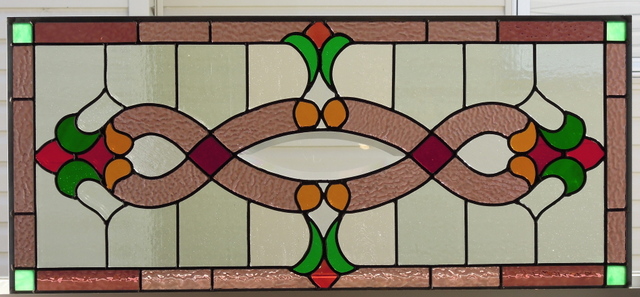
What we did was replace the 4 corners with the new English Muffle #4902, then carefully working with 2 of these unbroken border pieces we used them to replace broken border pieces # 4 & 15. The 4 green pieces in the center were also replaced and the 4 center clears were all replace to even out the look of the panel.
Our clients were most appreciated of our work in restoring their family heirloom panel. They have now found an old photograph of the 100+ year old farm home and it shows 2 of these windows. They plan on residing it and there is a possibility that the 2nd window could still hidden away behind the siding. If so and they find the 2nd window there is a very good chance that it might be there in its original state with no broken glass, but no doubt will need to also be fully restored.