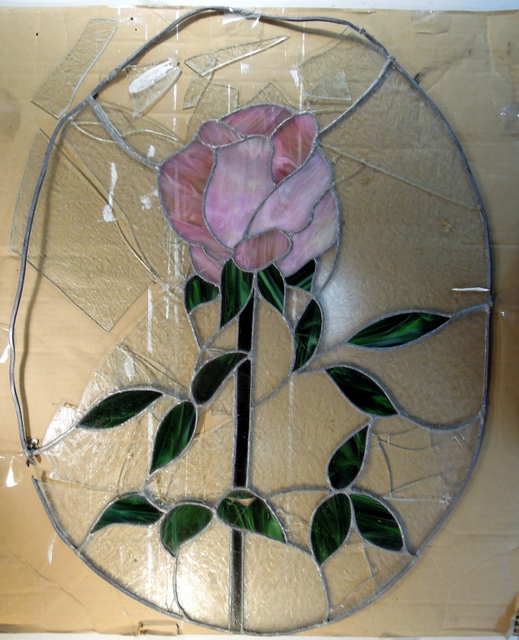
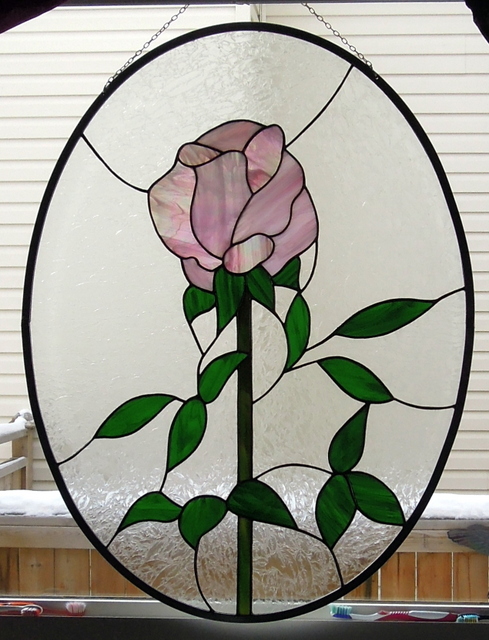
This was the condition of this oval Rose panel when we received it and we were asked if could restore it and we said sure, as we always like a challenge. The completed panel is the last picture in this post.

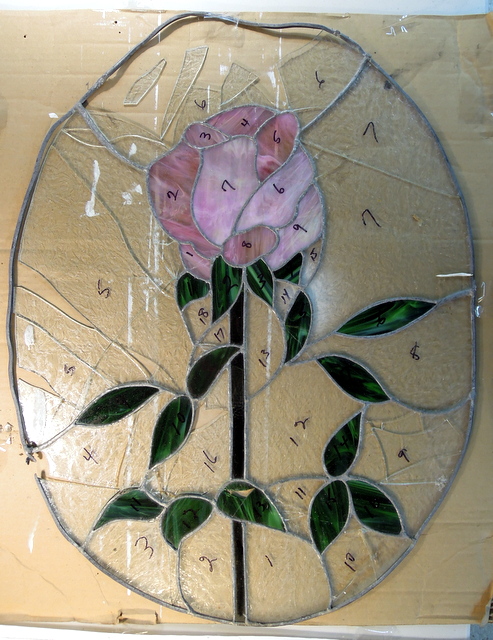
In the following picture we did our best to place as many of the broken pieces of Glue Chip in their original location. We then numbered each piece and proceeded to do a rub of the panel.

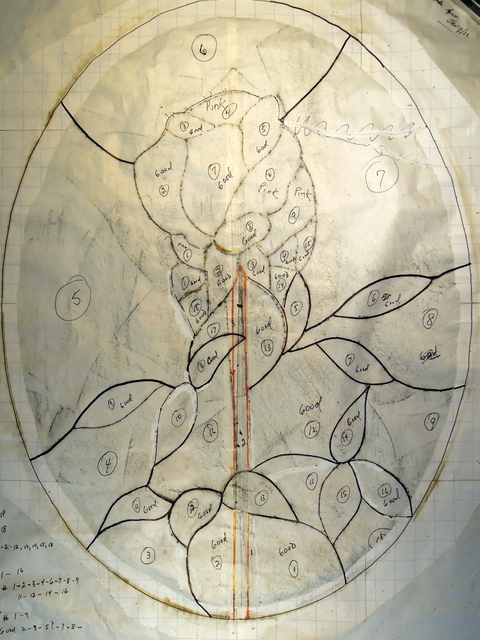
The following picture is of the rub, we also had to figure out the width and height of the panel and then using our Glass Eye 2000 software made a perfect oval using those measurements. We then pasted that oval over the rub after measuring numerous times to obtain the center of the oval. We simply put the oval pattern together then cut out the center to reveal the rose panel rub. Effectively that gave us a near perfect oval for the panel restoration.

The majority of the background frosted Glue Chip glass pieces were broken and had to be replaced, along with the rose stem, numerous leaves and a number of the rose petals. We were able to match the leaves but no iridescent pink glass was available as Oceanside who bought out Spectrum has yet to make any colored iridescent glass.
After soldering and black patina applied, we then attached a U Channel 1/2 zinc frame around the oval after bending it with a came bender. Holes were drilled in the came with rings inserted and chain attached for hanging. Finally the panel was polished using Clarity Stained Glass Polish. One of the key requirements when putting a zinc frame on a panel is to ensure that all solder lines are attached to the zinc came on both the front and back of the panel to ensure strength and panel longevity.

Original Design Artist Unknown

Beautiful job, as always. I still kick myself for breaking those 5 glue chip panels before I moved.