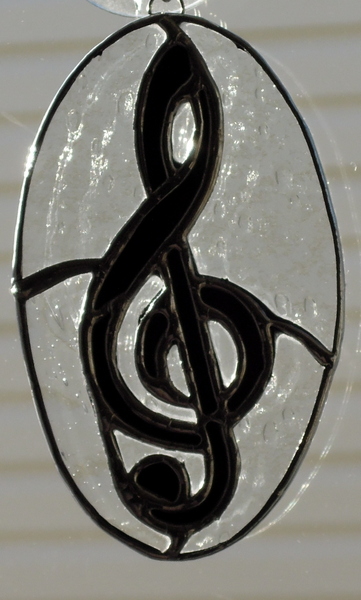
This year we made this Treble Clef for Jaylene one of our next door neighbours daughters. Jaylene is a very talented young singer and musician. This ornament measures approximately 2.5 inches x 4 inches.
Designer unknown
Website:
windows has written 400 articles so far, you can find them below.
This year we made this Treble Clef for Jaylene one of our next door neighbours daughters. Jaylene is a very talented young singer and musician. This ornament measures approximately 2.5 inches x 4 inches.
Designer unknown
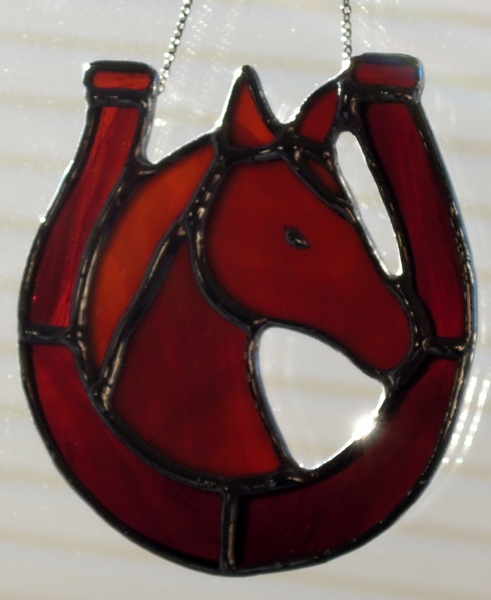
Each year we make Christmas Tree Ornaments for our next door neighbours daughters. This year as Julia is into horseback riding we made this horse shoe ornament for her. This ornament measures approximately 3 x 3 inches in size.
 Designer Unknown
The Red Deer Hospital Foundations Festival of Trees, has been using this wonderful white branched, white lighted tree for this year and many past years to display our stained glass. Enjoy and we wish you all a Merry Christmas and a Very Happy New Year.
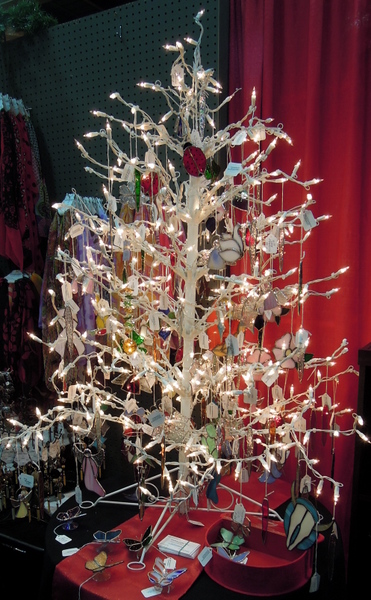
Once again we will have many stained glass items in the Gift Store at this year’s Red Deer Regional Health Foundations Festival of Trees. The event is held at Westerner Park in Red Deer Alberta, and the hours are Friday November 28th and Saturday November 29th from 10.00 am to 9.00 pm and on Sunday November 30 from 10.00 to 4.00 pm.
This is our 11th year of supporting the Health Foundations Fund Raising activities and we encourage folks to attend to see the incredible displays and to support the Foundation.
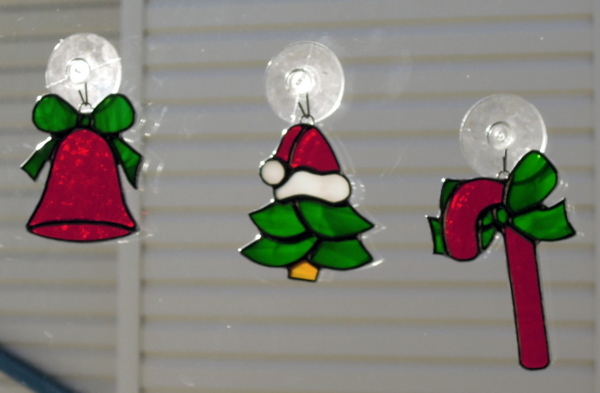
We have many different Christmas tree ornaments, angels, shamrocks, icicles, hummingbirds, crosses, beveled snowflakes, butterflies and many other intriguing items to bring Christmas joy to your home this holiday season.
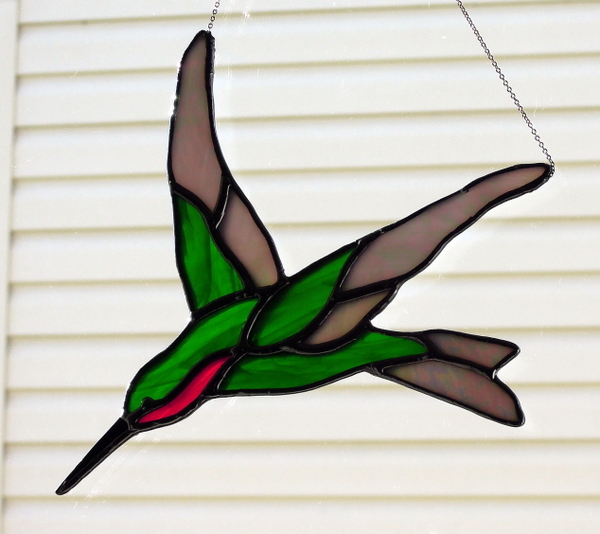
Designer Unknown.
This hummingbird measures approximately 7 inches wide by 6 inches high. We used Spectrum glass, the wings were a grey iridescent and the hummer was a gift for a lady who lives in Red Deer Alberta.
Original design by Jenova Moseley & Geneva Perkins modified by Flory Wilkins