About windows


Website:
windows has written 397 articles so far, you can find them below.


Vicki’s Lamps

We were asked to make 2 lamp shades one for each side of Vicki’s fireplace in Medicine Hat.
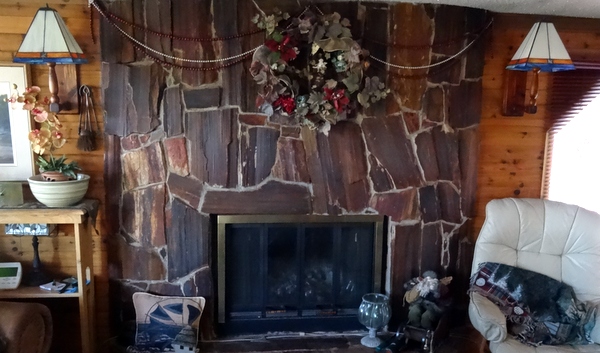
StainedGlassVicki'sLamps#3DSC08512

The next picture shows the lamps in our home prior to delivery to Vicki. The glass that she wanted gives off a very warm soft light. We used Spectrum glass SP 201.61S Ivory Opalescent, 1 inch sq bevels and the bottom glass is Uroboros art glass U-00-621 & U-65-540.
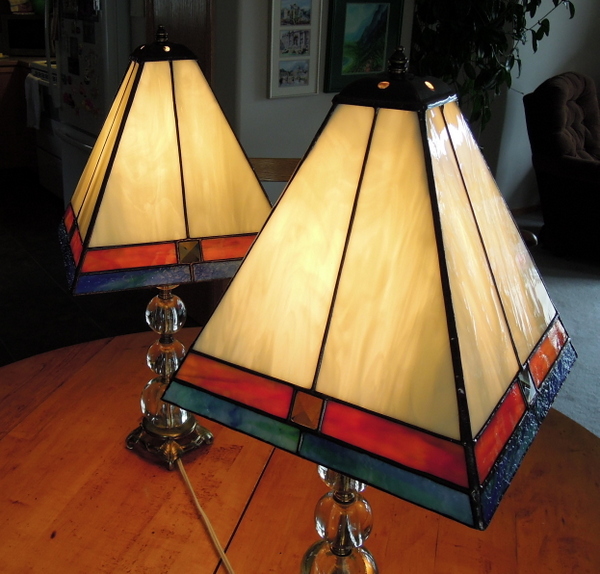
StainedGlassVicki'sLampshadesMay2015

Close up of one of the shades by the fireplace.
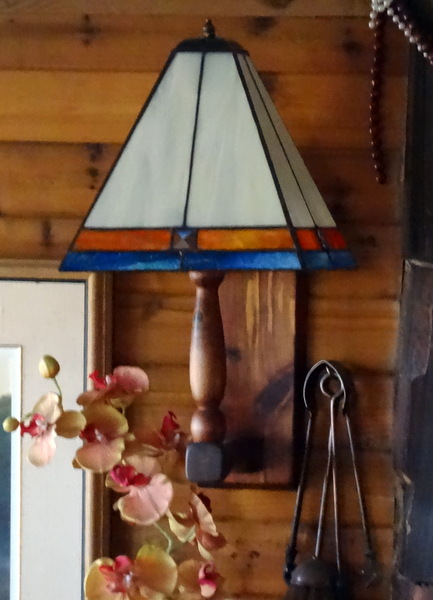
StainedGlassVicki'sLamps#4DSC08513

We took Vicki’s pattern design and transferred it onto X-Ray film. We then cut out each pattern piece and traced onto the respective glass to be used.
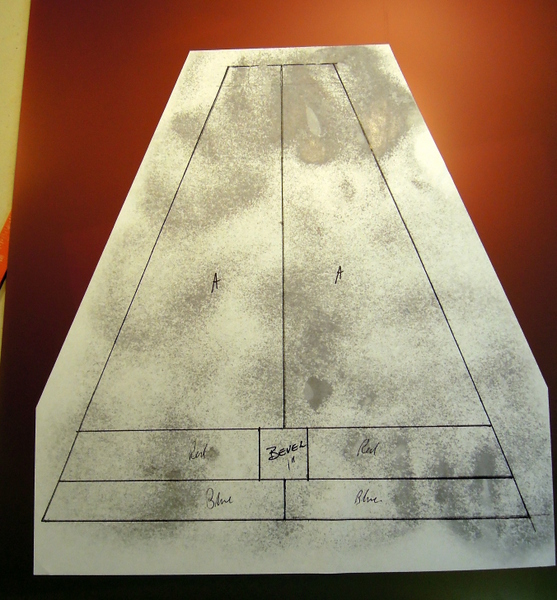
DesignPatterngluedtoX-RayfilmVicki'sLamps

Using Morton layout blocks we set up this jig to allow us to make the 8 panels required for the 2 lamp shades.
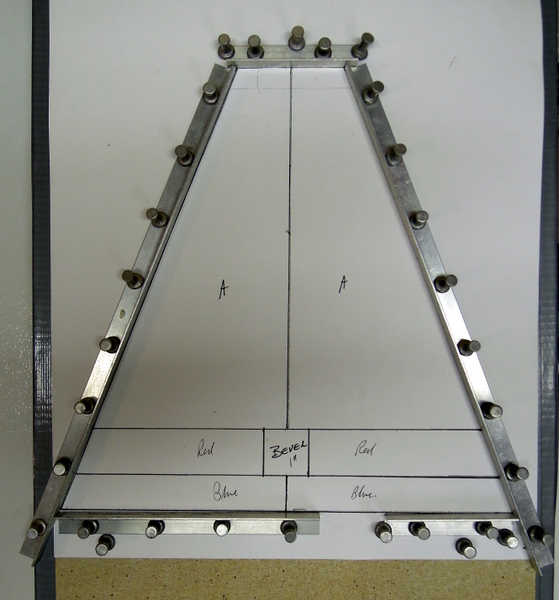
MortonLayoutBlocksforVicki'sLampPanels

When tracing onto glass we made sure that the glass matched for the 2 top large panels. Then each piece was fitted, foiled and then soldered for each panel. We also ensured that the bottom pieces of Uroboros art glass matched as well.
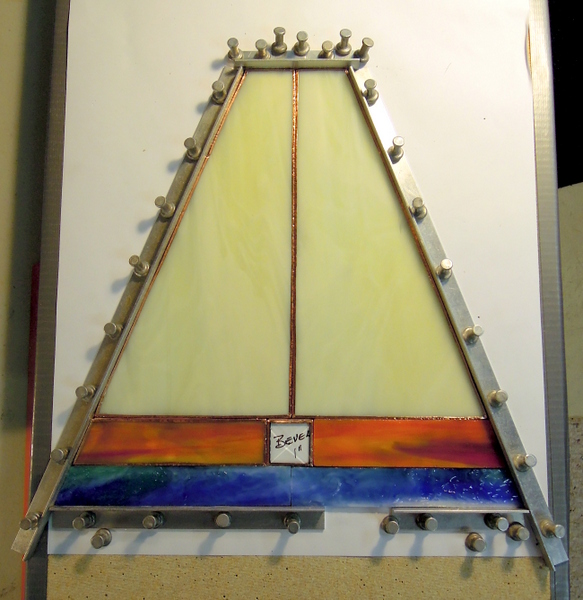
Vicki'sLamppanel

Here is a photo of 1 of the panels after being soldered.
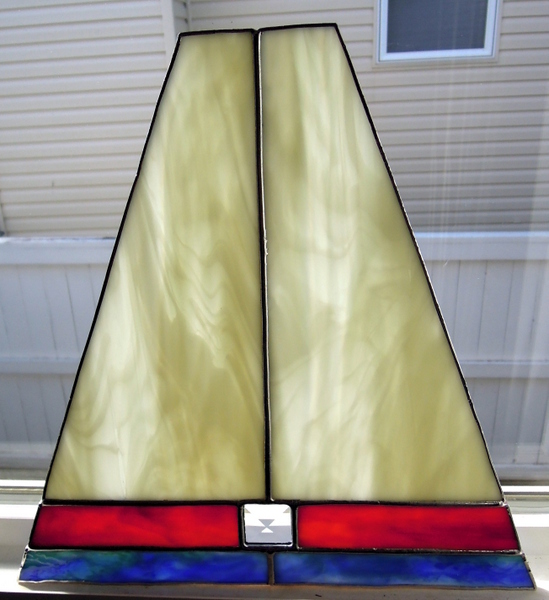
Vicki'sStainedglassLampPanel

Once 4 panels were completed we laid them out, then joined them together with electrical tape.StainedGlassVicki's1stlamp2015
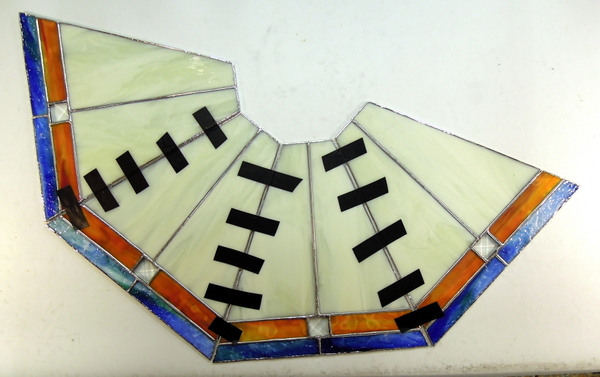
After raising the 4 panels held together with electrical tape we put a light over the top to get and idea as to how the lamp shade would look when completed.
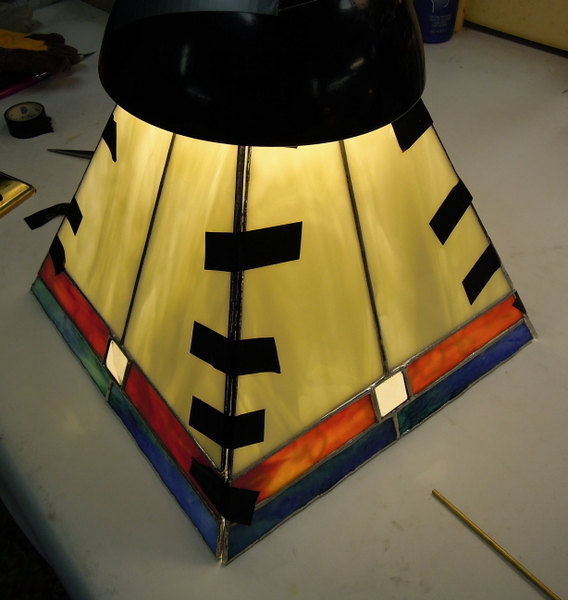
StainedGlassVicki's1stLamp2015 (2)

We then made sure that the lamps are level and square, touch solder the joints, and when sufficiently strong place the shade in a large box filled with newspaper. Using a small level we then fully bead each seam inside and out. We also used a 4 way spider for additional strength before soldering on the vented vase cap. Once completed each lamp shade is then cleaned with Kwik Clean, and this time we applied JAX pewter antique black patina, after which the shade must again be cleaned with Kwik Clean. Then Clarity stained glass polish is applied and the lamp shade is then polished using a soft cloth and toothbrushes on each seam.

Spring – Time for Garden Butterflies, Ladybugs, Frogs and Dragonflies

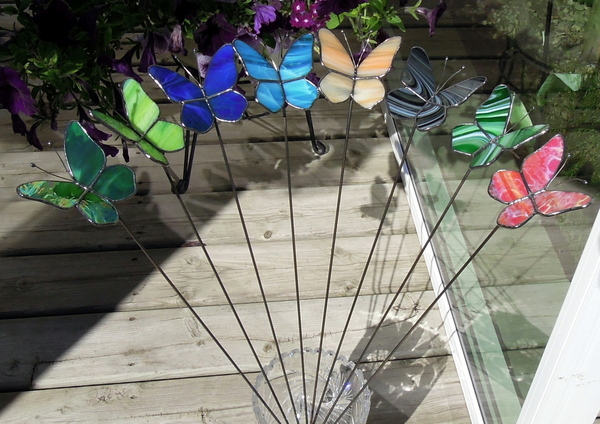
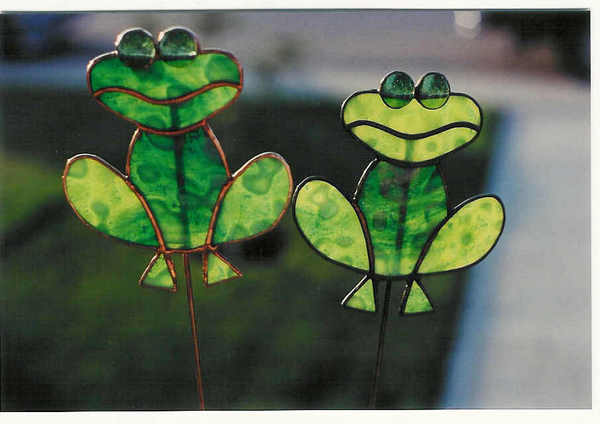
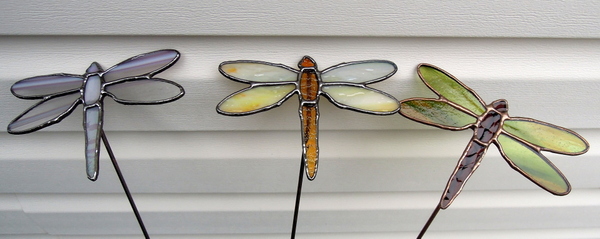
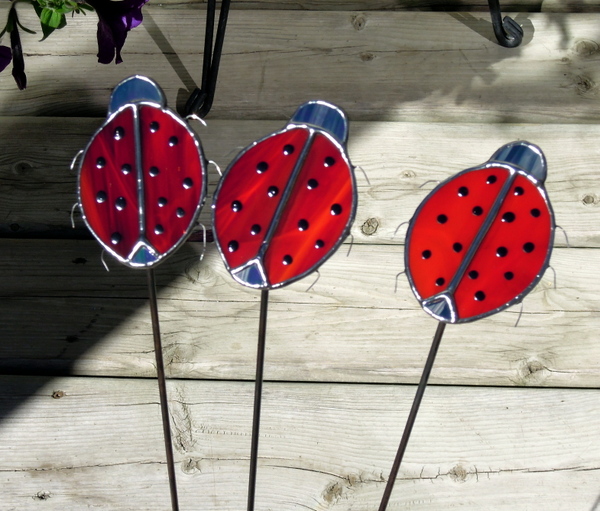
Ah the joys of spring when thoughts of planting gardens and watching the rebirth of new leaves on trees, birds migrating north and green lawns.  Now is the time to fill your gardens and flower beds with our stained glass garden stakes. We have 2 different sizes of butterflies, along with wonderful lady bugs, frogs and dragonflies for your enjoyment.

Butterflies

LargeGardenButterfliesJune2014

 Frogs

GardenFrogsSmall&LargeOnAStik

Dragonflies

GardenDragonflies

 Ladybugs GardenLadyBugsJune2014

 Adaptations of designs to garden stakes by Bob & Flory Wilkins


Spring Time Joy 2015 Mare & Foal

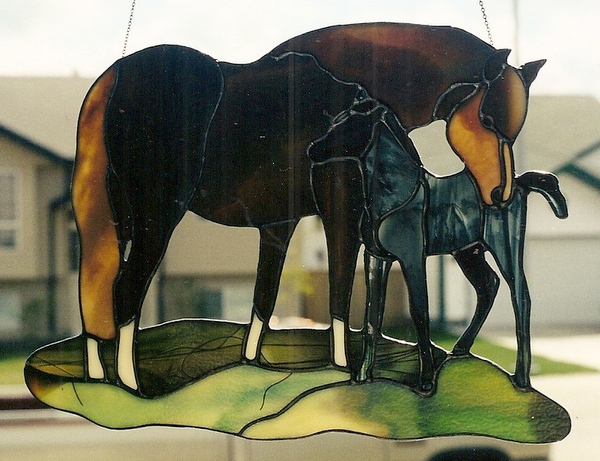
The glory of springtime when one drives our Alberta country side and the joy of seeing a mare with a new born foal. We made this suncatcher many years ago for year round enjoyment.

MareandFoal

Designed by Nancy Pimental – Great Woods Glass Art, Norton, MA

This is a free pattern design available from Spectrum Glass Company

Easter 2015 – Time for Angels

It will soon be Easter and in our troubled world it’s time for angels, lots of stained glass angels to enjoy year round.

Over the years we have made many different angels in many sizes, here is our Easter Calla Lily Flower Angel.

CalaLilyFlowerAngel

Design by Suzanne Cooper


Eagles “The Eagle has landed” – 2015

We have a client who is an awesome intarsia woodworker. He designed this eagle in wood and wanted to have it transformed into stained glass. In addition he and his wife wanted 2 of them each facing each other for their retreat in the West Country towards the Rocky Mountains in Central Alberta.

To facilitate this endeavour we enlisted the services of Paned Expressions Studios in Edgewood Maryland. Martha was quickly able to take the intarsia design pattern from our clients and add in the necessary lines to complete a 20 x 20 inch panel. Then using Glass Eye 2000 she reflected the design so as to have another identical design pattern.

This is the left side eagle and eventually we will display the remaining right side eagle with more pictures and details. Enjoy the first Eagle has landed.

StainedGlassEagle2015

 Stained Glass Panel Design by Paned Expressions Studio

From an Intarsia Wood design supplied by our client